Back to School Rice Krispie Treats
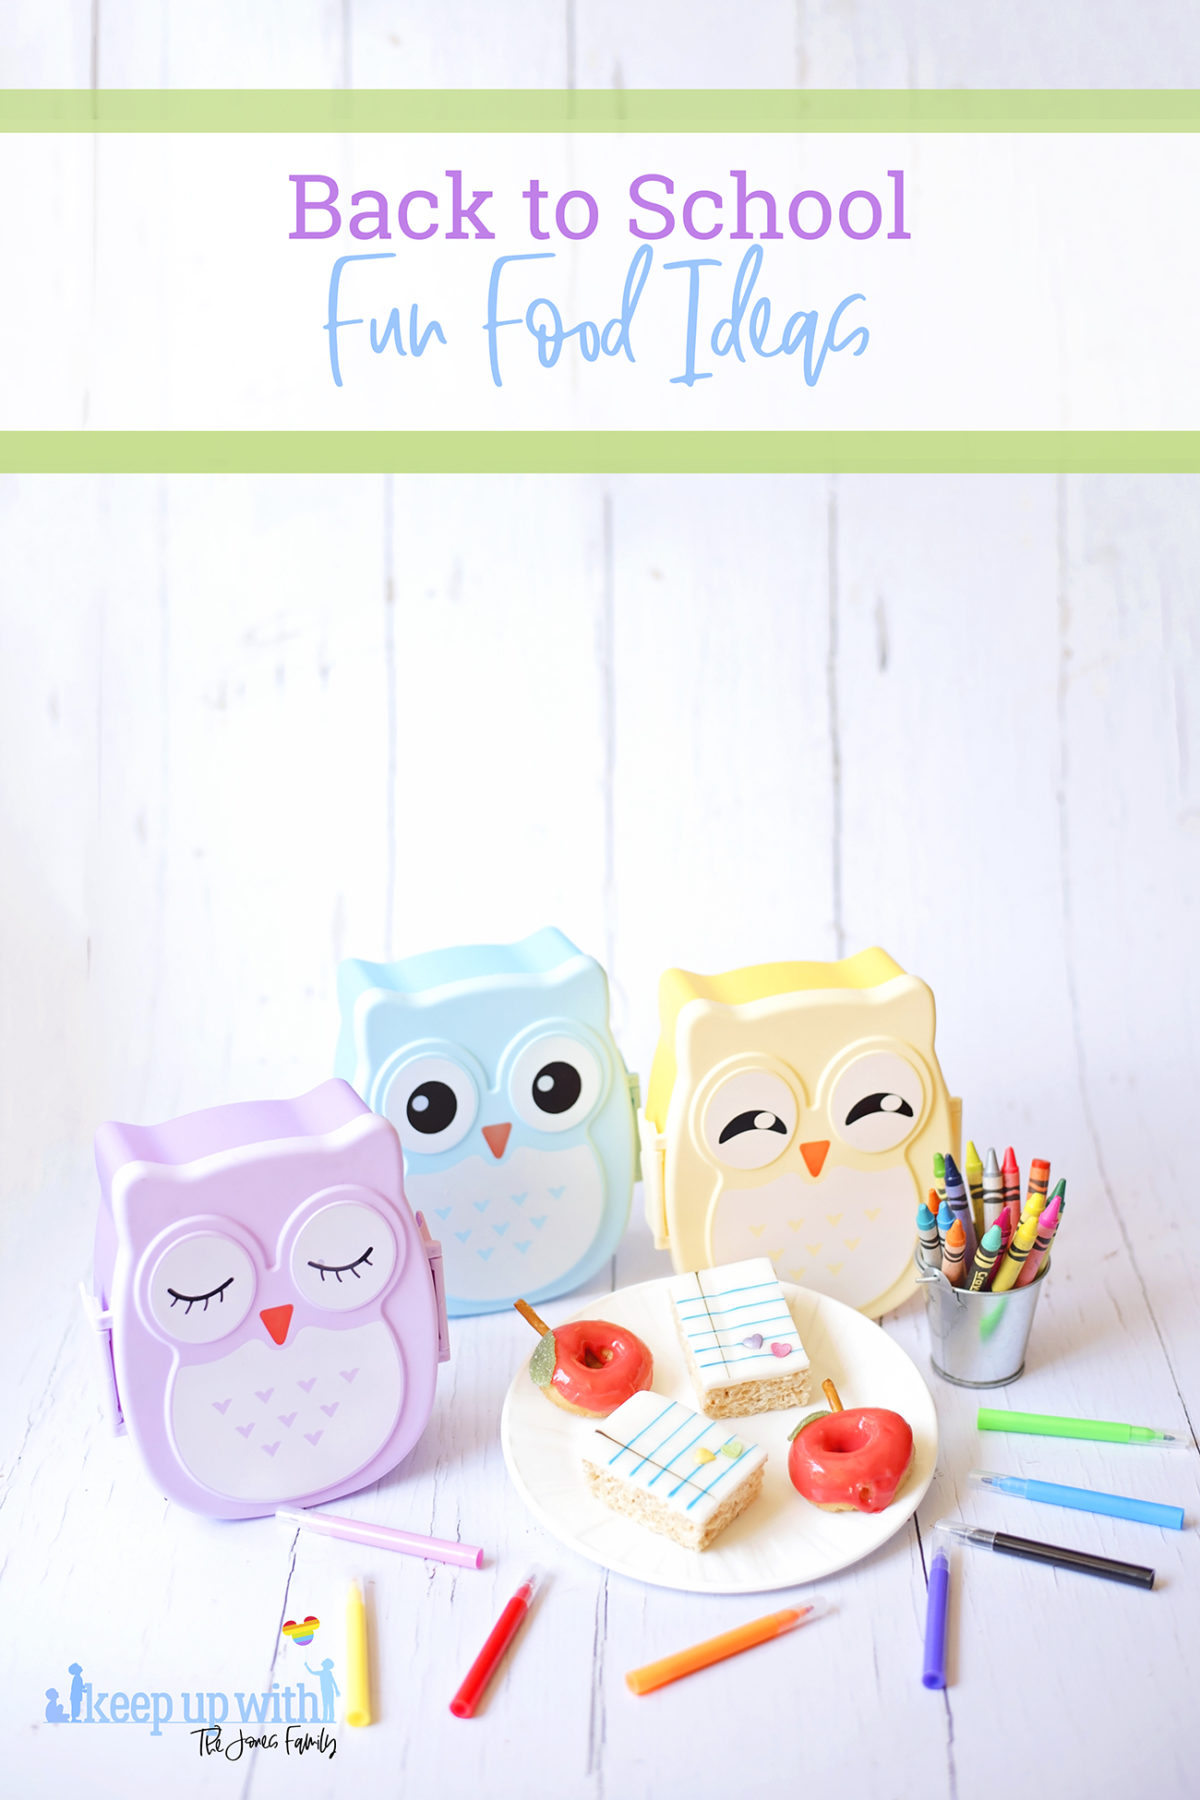
Back to School Rice Krispie Treats – Icing topped Rice Krispie Bars that look like notebooks!
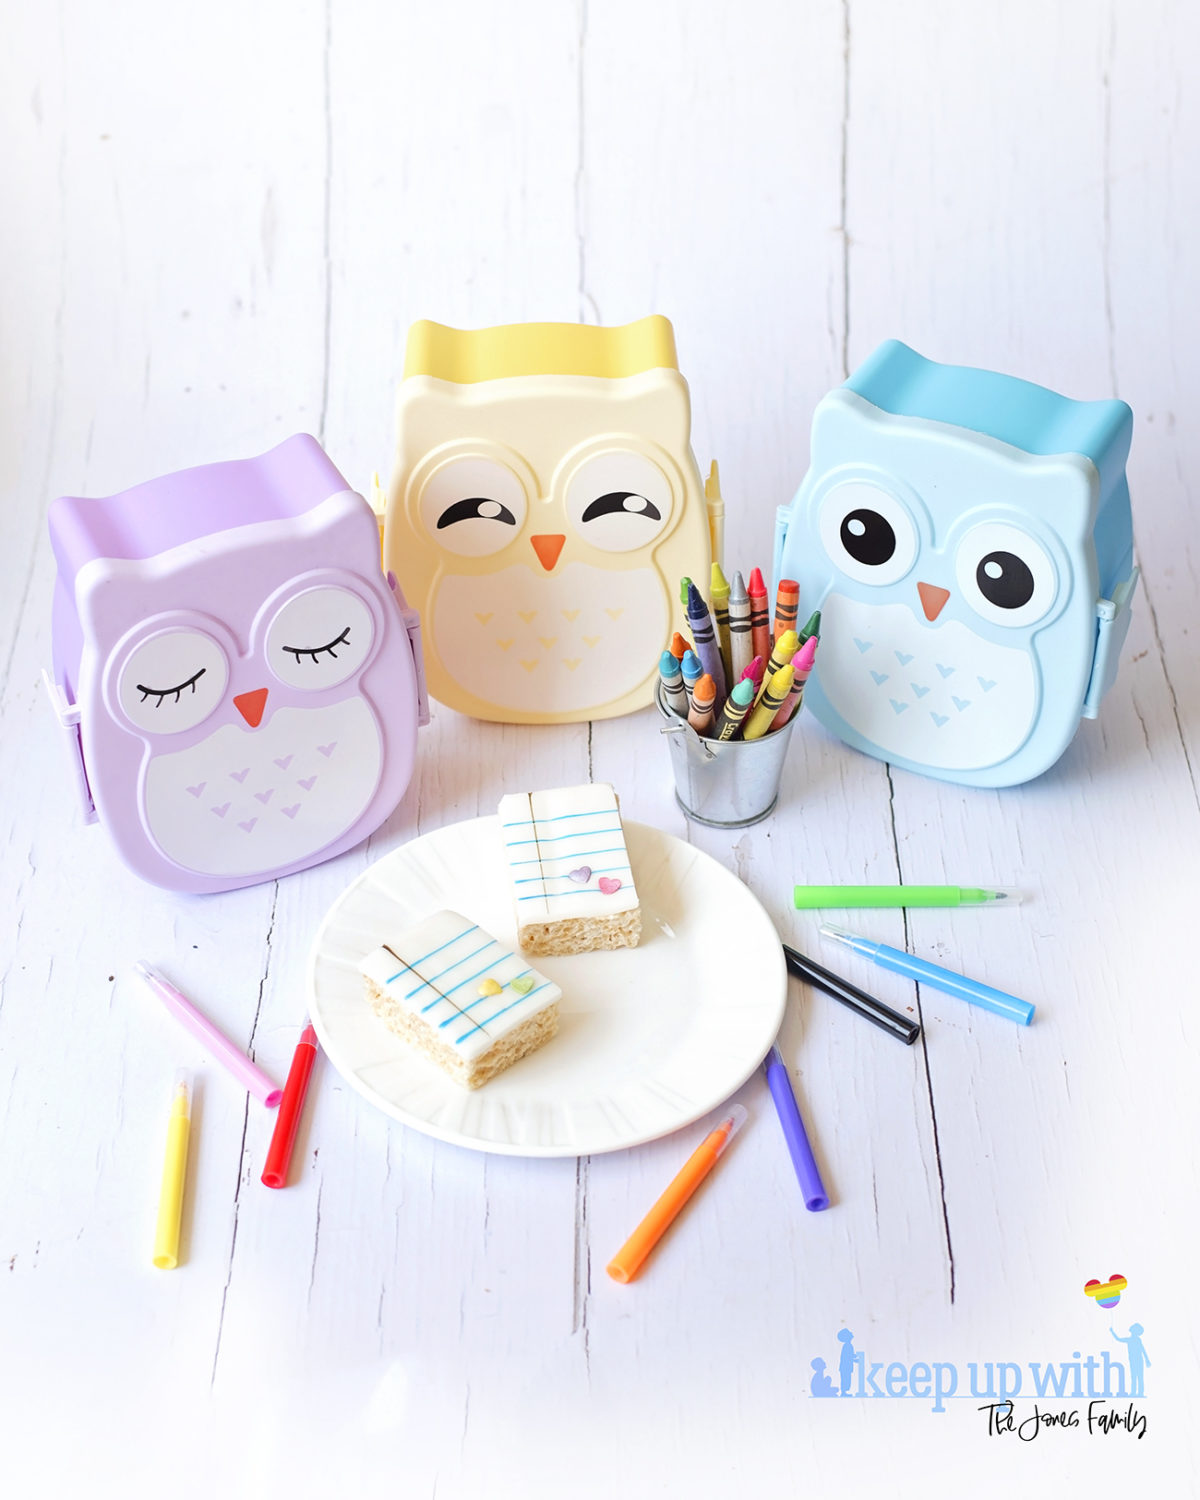
Hey, friends! School is over for the summer now here in the UK and I am already thinking about all of the things I need to have done before school starts again! Uniforms, bags, lunchboxes, drink bottles, shoes, trainers, football boots, rugby kits, geometry sets – this school business is expensive! But anyway, for now, for this week at least, I’m going to try and forget about the fact I’ll probably have to remortgage the house to pay for everything and enjoy the fact that there are no school runs now for 6 weeks and no homework.
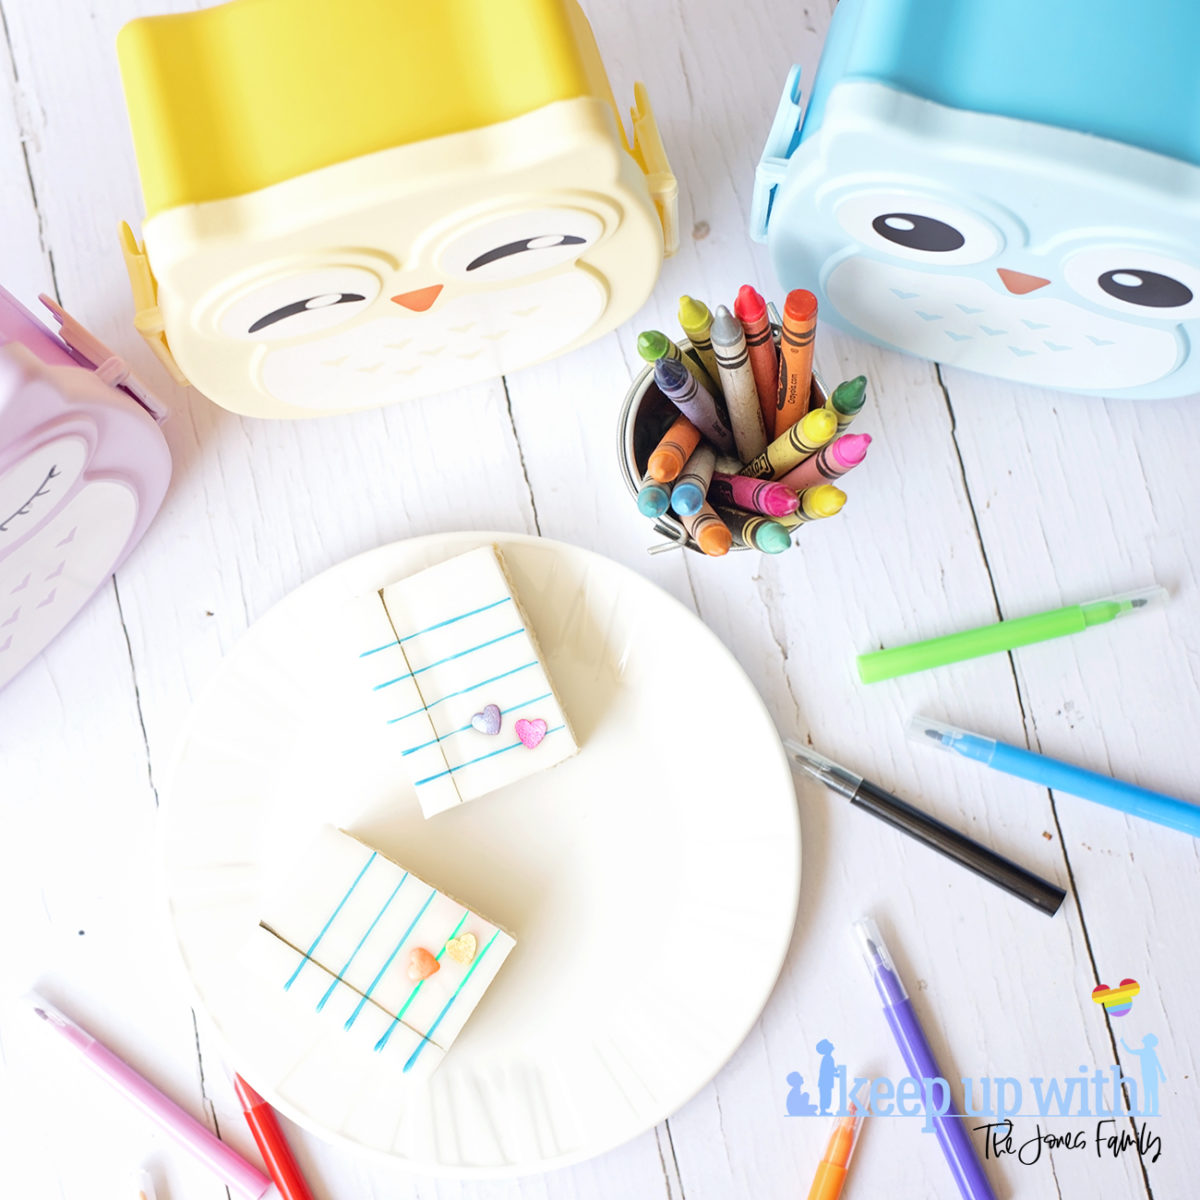
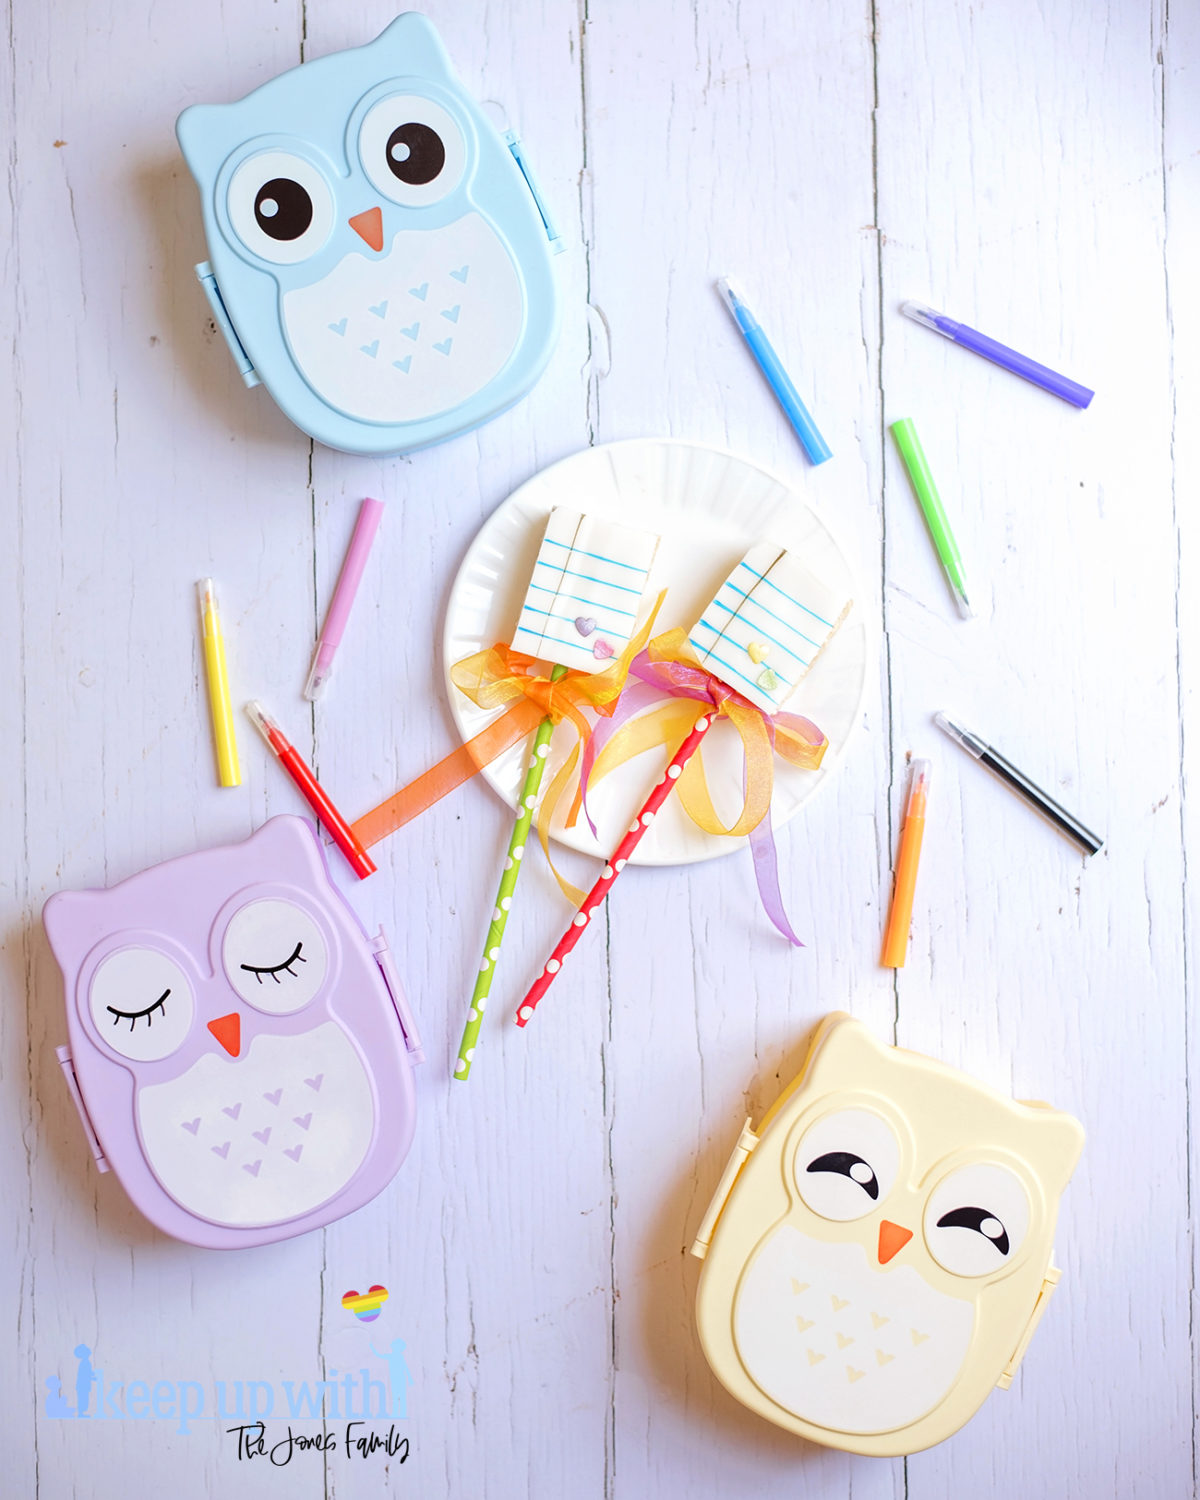
I love Rice Krispie treats – mainly because there’s not much you can’t do with them, and also because they remind me of Mickey Treats. We made Summer Mickey treats not long ago and they were so good. Rice Krispies Squares bars make things like that so easy to whip up in minutes. So this week I made some Back to School [or in this case, end of school] Rice Krispie treats that looked like little sheets of paper. They look amazing and you can even pop straws in the ends and turn them into lollipops. I’m sure I’ve mentioned it before, but food always tastes better on a stick; it’s true.
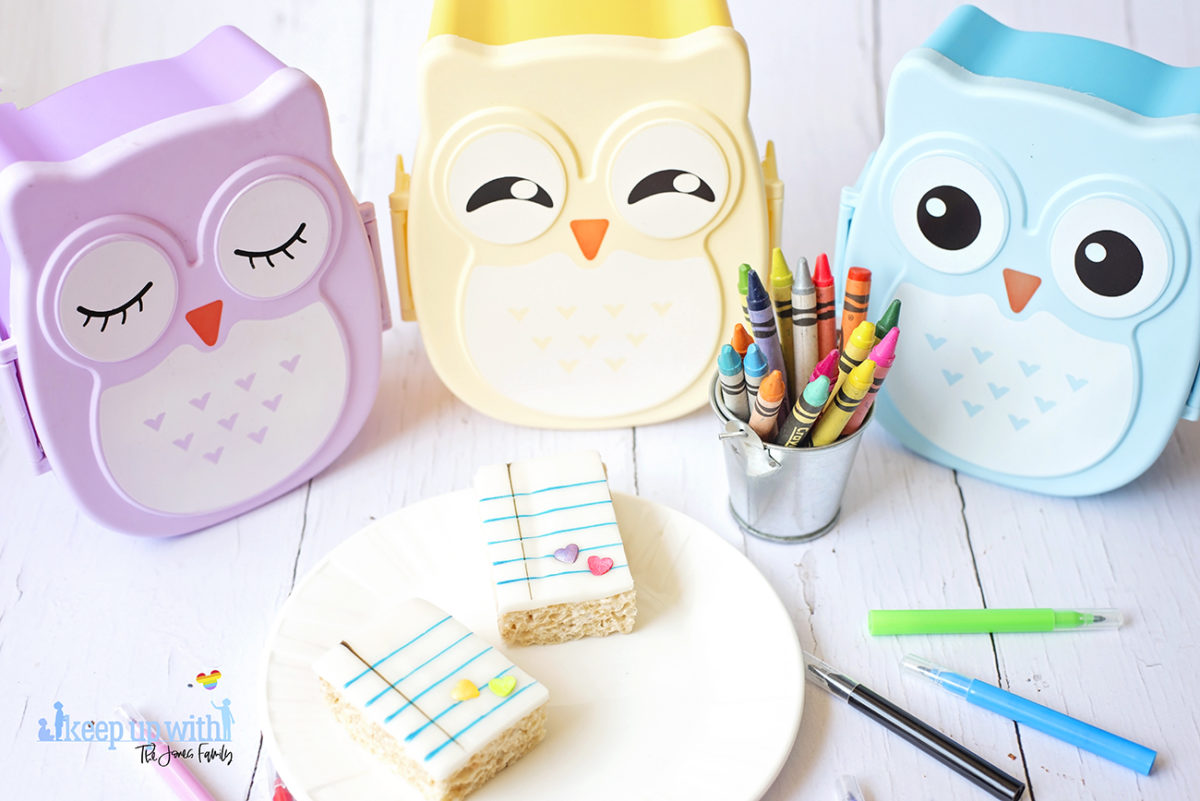
Back to School Rice Krispie Treats
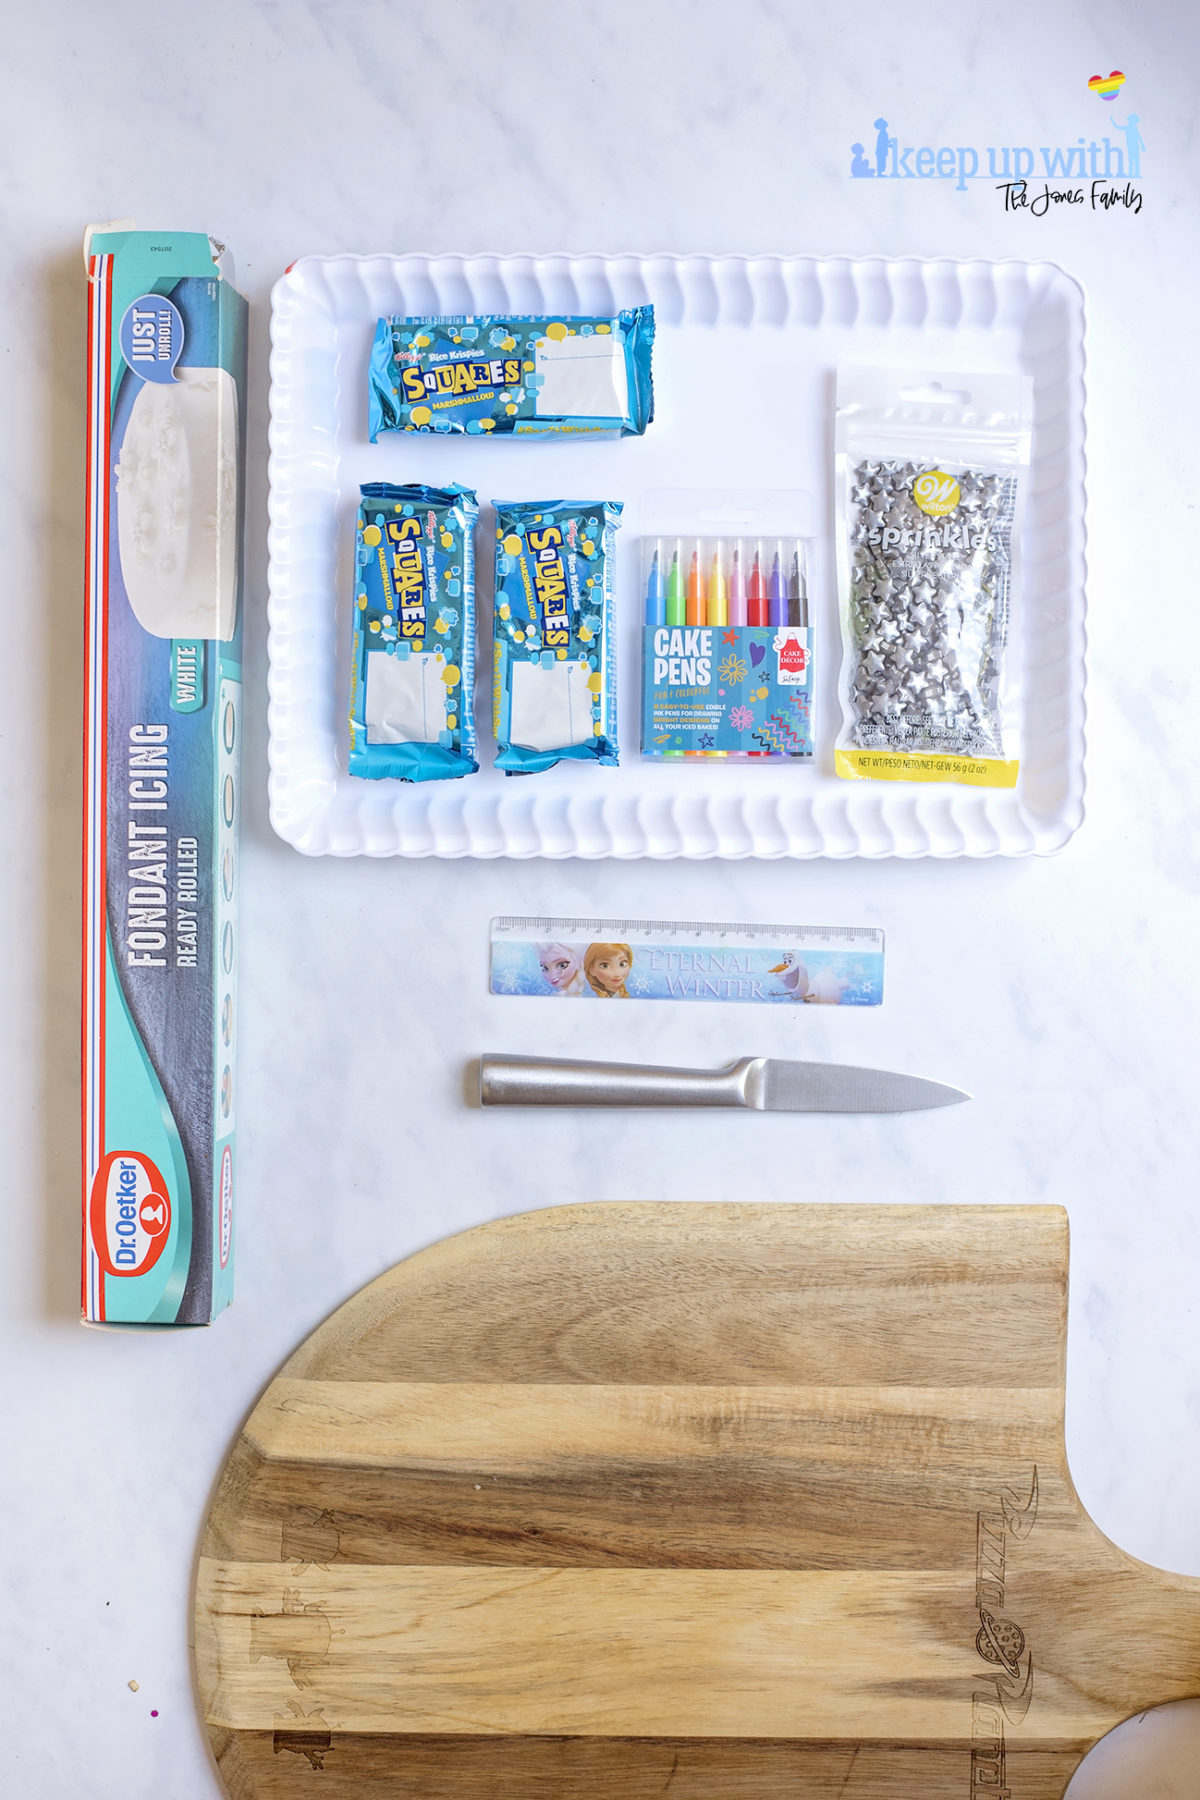
To make your Back to School Rice Krispie Treats, you’ll need just a few things.
Rice Krispies Square Bars – I get mine from ASDA at £1 per pack of four. Get the plain kind because they don’ t have any lumps or bumps on them. Each one of these Squares [which is in reality a rectangle] will make one treat with a little bit left over, which is your reward as you’re making them. haha..
You also need pre-rolled white fondant or royal icing – this makes things easier and faster, and less sticky when it’s hot like it is here at the moment. If you prefer rolling your own or making it yourself, I”m impressed.
Cake Pens – I got a little pack for each of my boys from ASDA a couple of months ago when I had an idea for something that’s coming up on the blog in a couple of weeks, and, I think they were £3 per pack in the cake decorating aisle. You can write on food with them pretty easily without worrying about poisoning yourself, haha. My boys love using them and are constantly asking me if it’s really ok to draw on their food and still eat it.
Sprinkles – So for this recipe I used heart shaped ones in different colours but I did consider gold stars. So whatever you want to decorate your pages with is brilliant. Pretend they’re the little stickers that teachers give out for good work.
More Back to School Fun Food Ideas…
How to Make Back to School Rice Krispie Treats
So those are your ingredients. Equipment wise, to make your Back to School Krispie Treats, you will need:
- A Knife that will cut smoothly through fondant or royal icing without dragging. I used a paring knife.
- Chopping board for cutting the icing and Rice Krispie Squares
- A Ruler for making the lines
- Straws or sticks and ribbon if you’ve decided to make them into lollipop treats.
Creating Your Back to School Fun Food
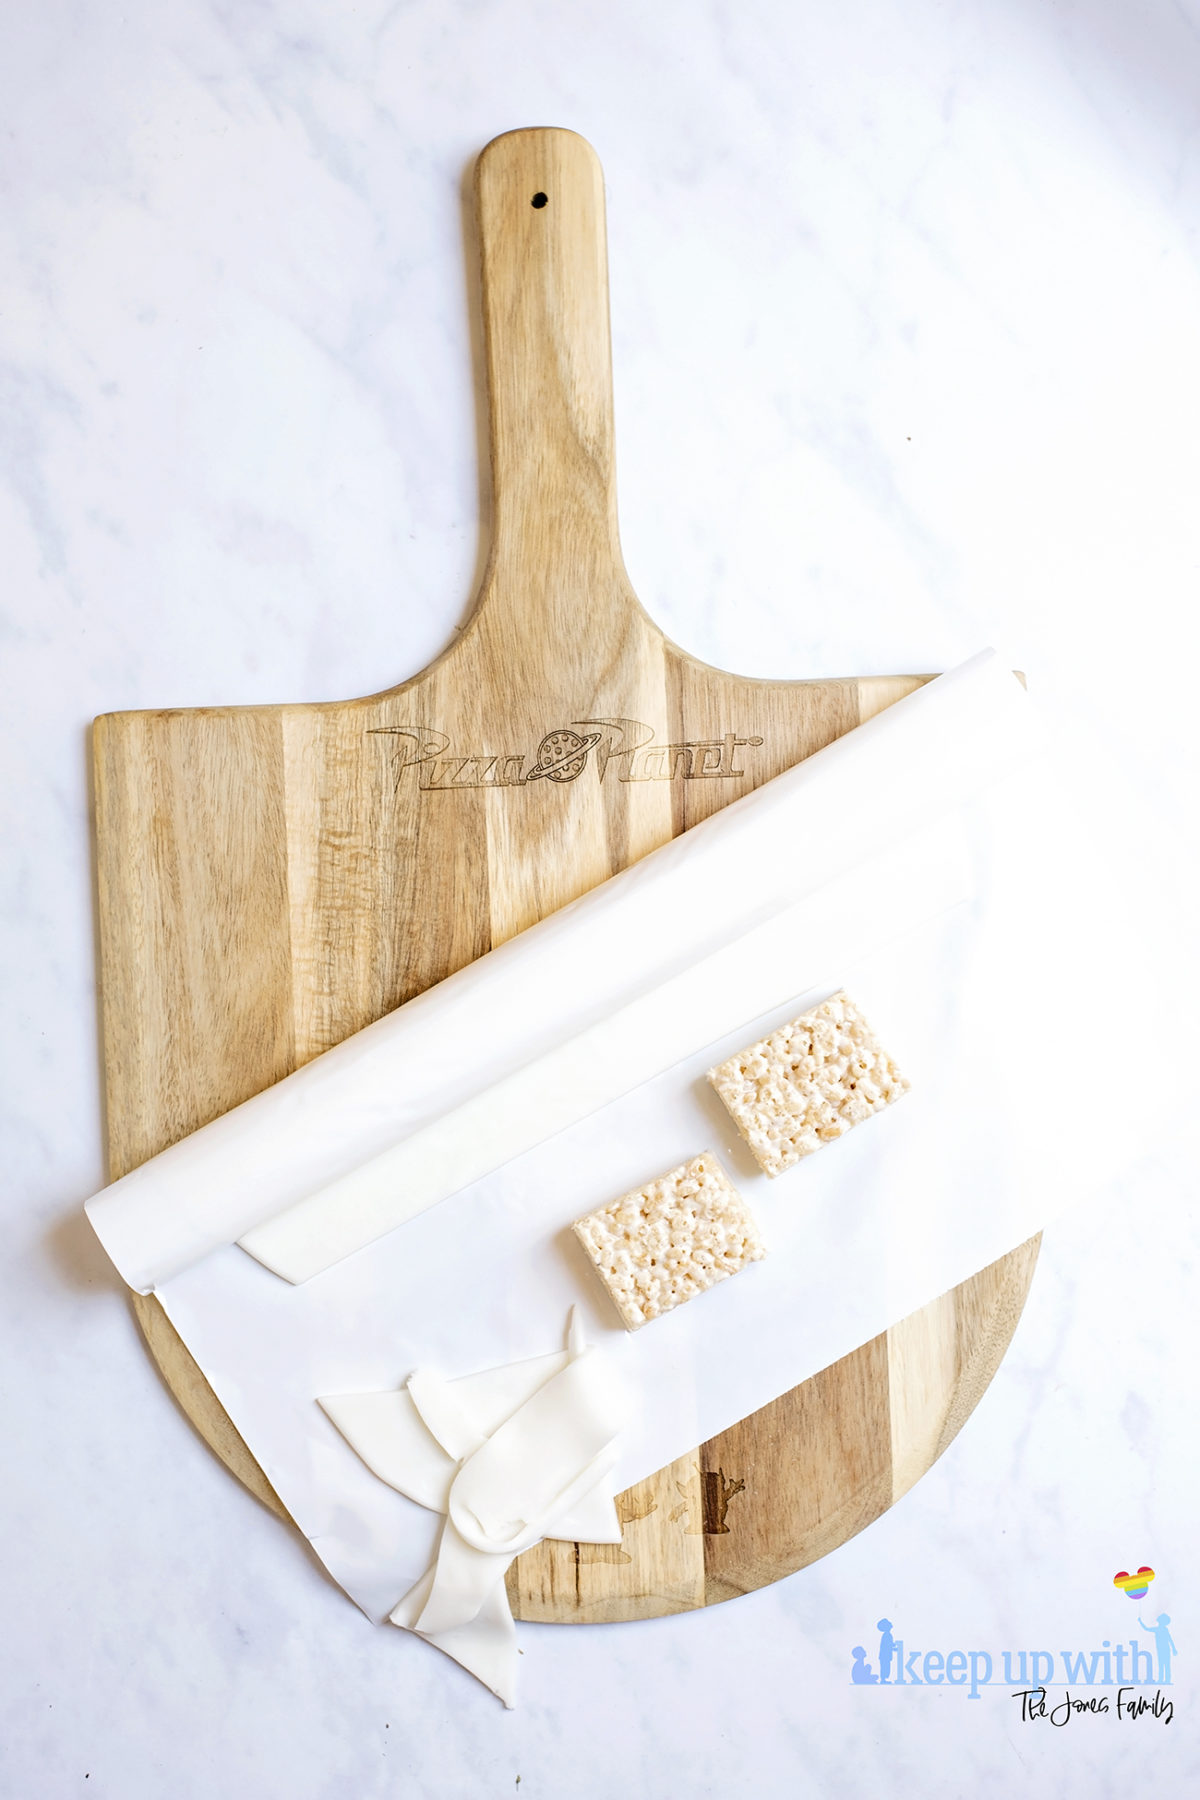
Unwrap your Rice Krispie Squares and chop 1/4 of the length off. Discard [eat]
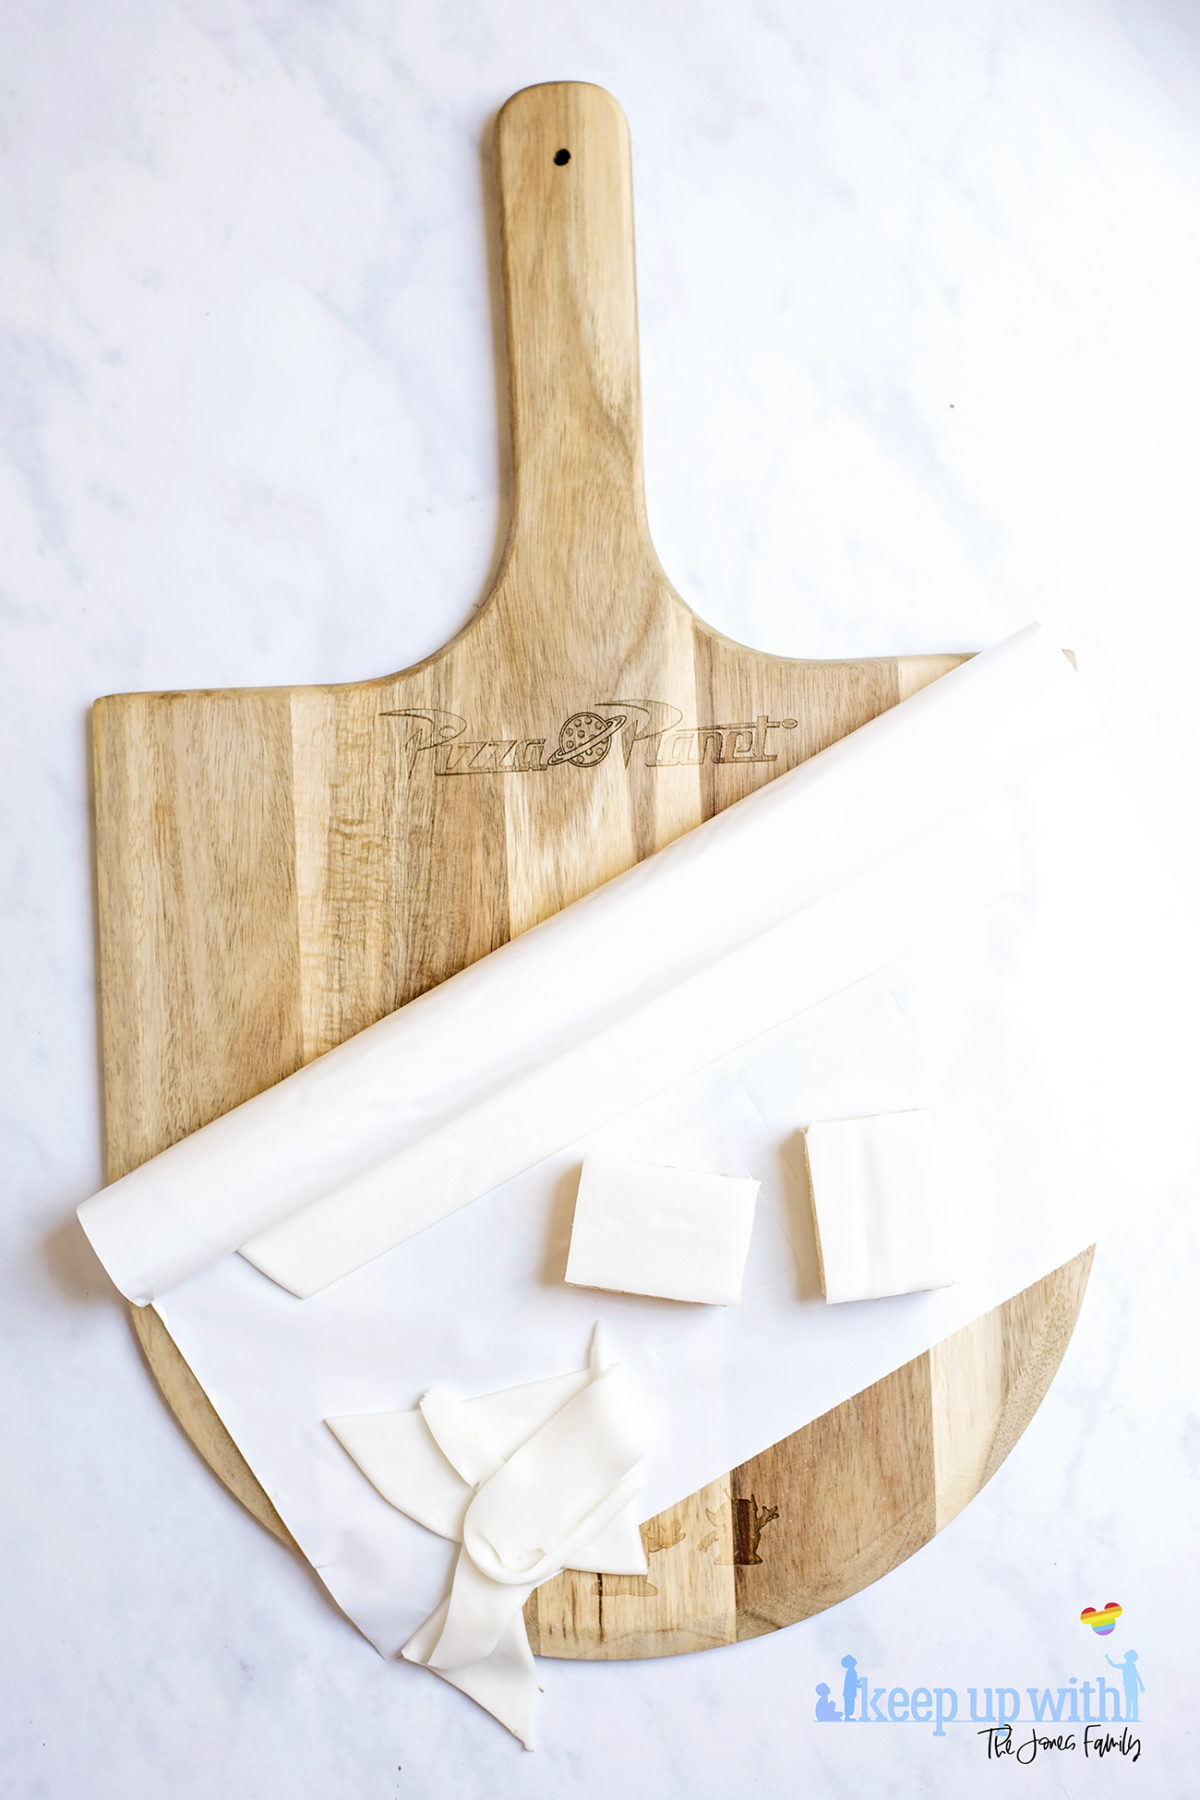
Place the freshly cut treats onto the rolled icing.
Cut around the treats into the icing.
FLip the treats over carefully.
Take the ruler and using a cake pen, draw lines horizontally across the icing, in the style of a piece of A4 paper. Be careful not to drag the ruler down the icing as the line will smudge.
Make the margin vertically in a different colour
Press sprinkles into the paper where you’d like the “stickers” to be.
If serving as lollipops, pierce the bottom of the treats with a stick or straw and tie with a ribbon.
Serve!
Recipe Card
Back to School Rice Krispie Treats
Icing Topped Rice Krispie Treats that look like notebooks – perfect for back to school snacks
- A Knife that will cut smoothly through fondant or royal icing without dragging.
- Chopping Board
- A Ruler
- Straws or sticks and ribbon
- 2 packs Rice Krispies Square Bars
- 1 roll You also need pre-rolled white fondant or royal icing
- 1 pack Cake Pens
- 1 jar Sprinkles
- Unwrap your Rice Krispie Squares and chop 1/4 of the length off. Discard [eat]
- Place the freshly cut treats onto the rolled icing.
- Cut around the treats into the icing.
- Flip the treats over carefully.
- Take the ruler and using a cake pen, draw lines horizontally across the icing, in the style of a piece of A4 paper. Be careful not to drag the ruler down the icing as the line will smudge.
- Make the margin vertically in a different colour
- Press sprinkles into the paper where you’d like the “stickers” to be.
- If serving as lollipops, pierce the bottom of the treats with a stick or straw and tie with a ribbon.
- Serve!
Pin Me For Later
