Peter Pan Second Star to the Right Biscuits
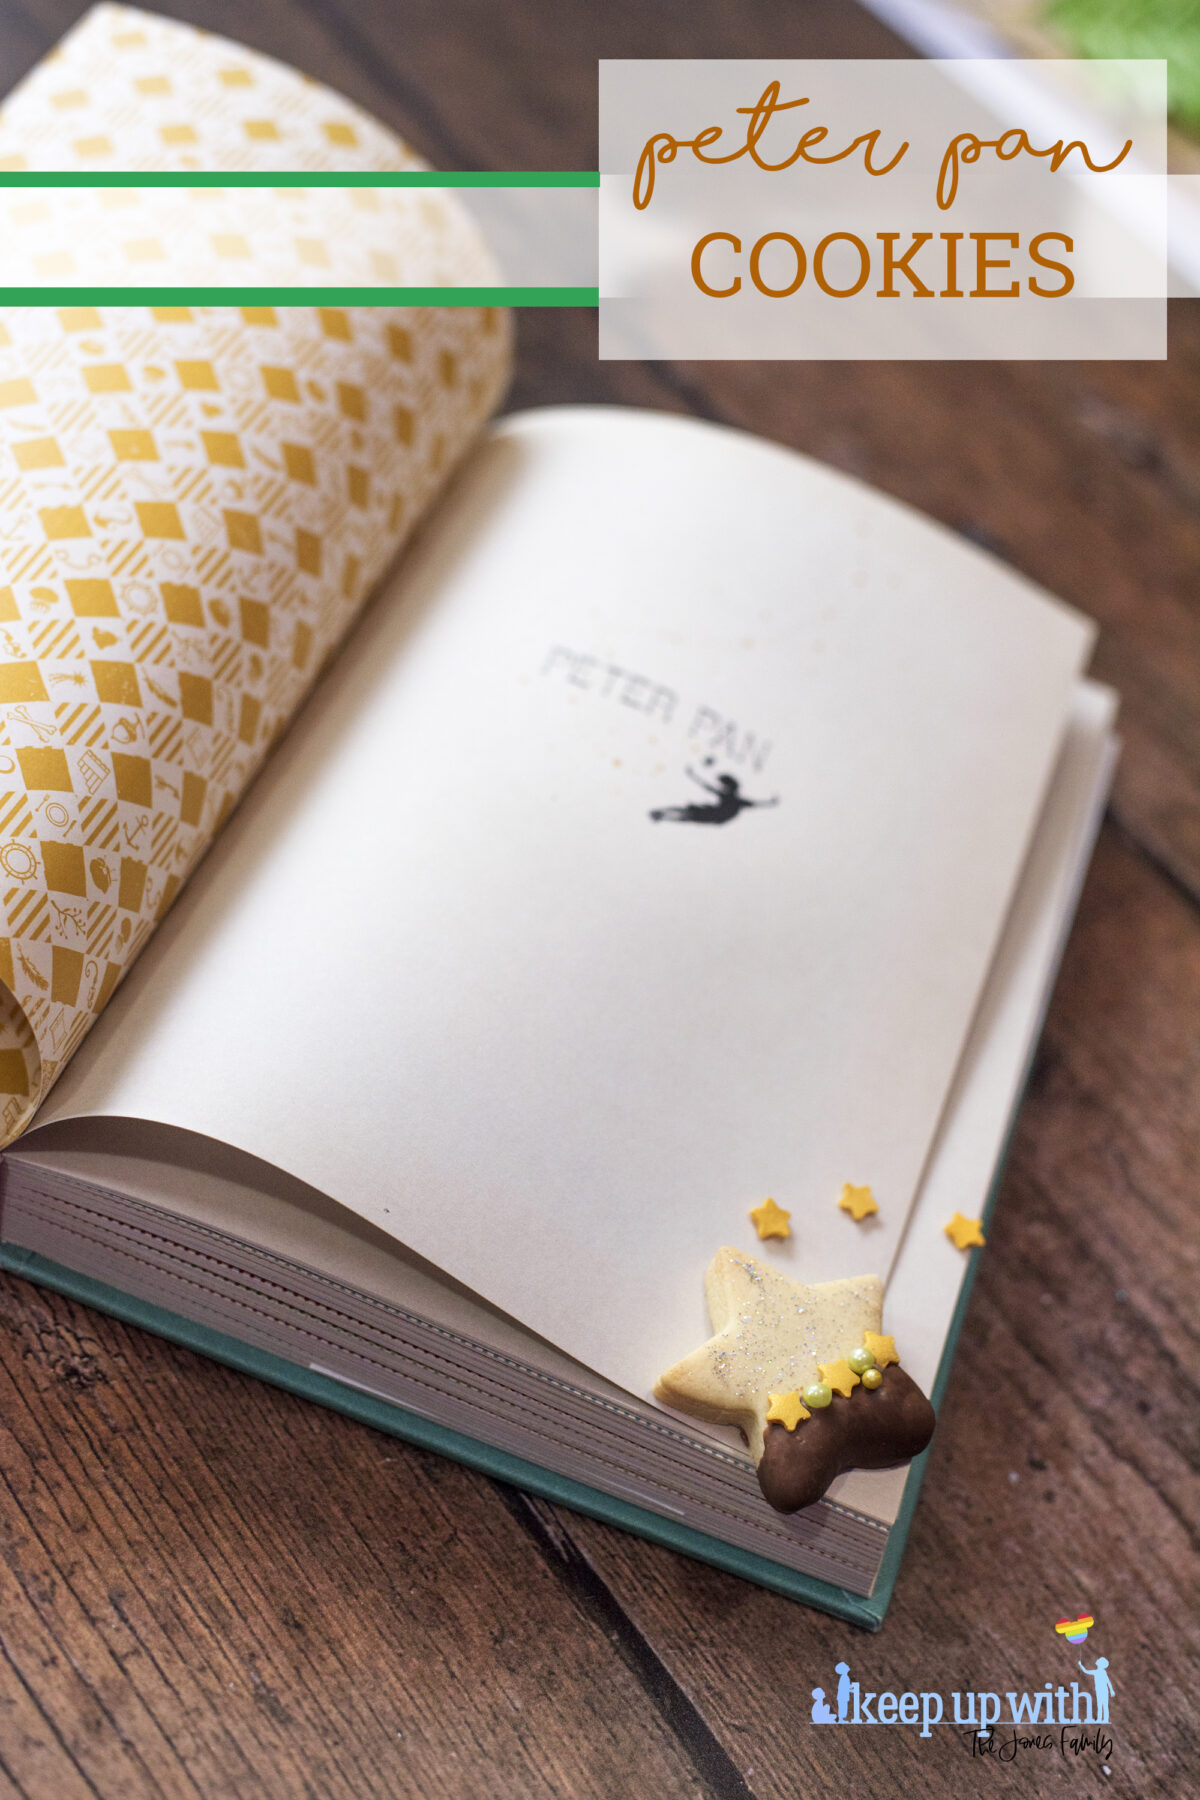
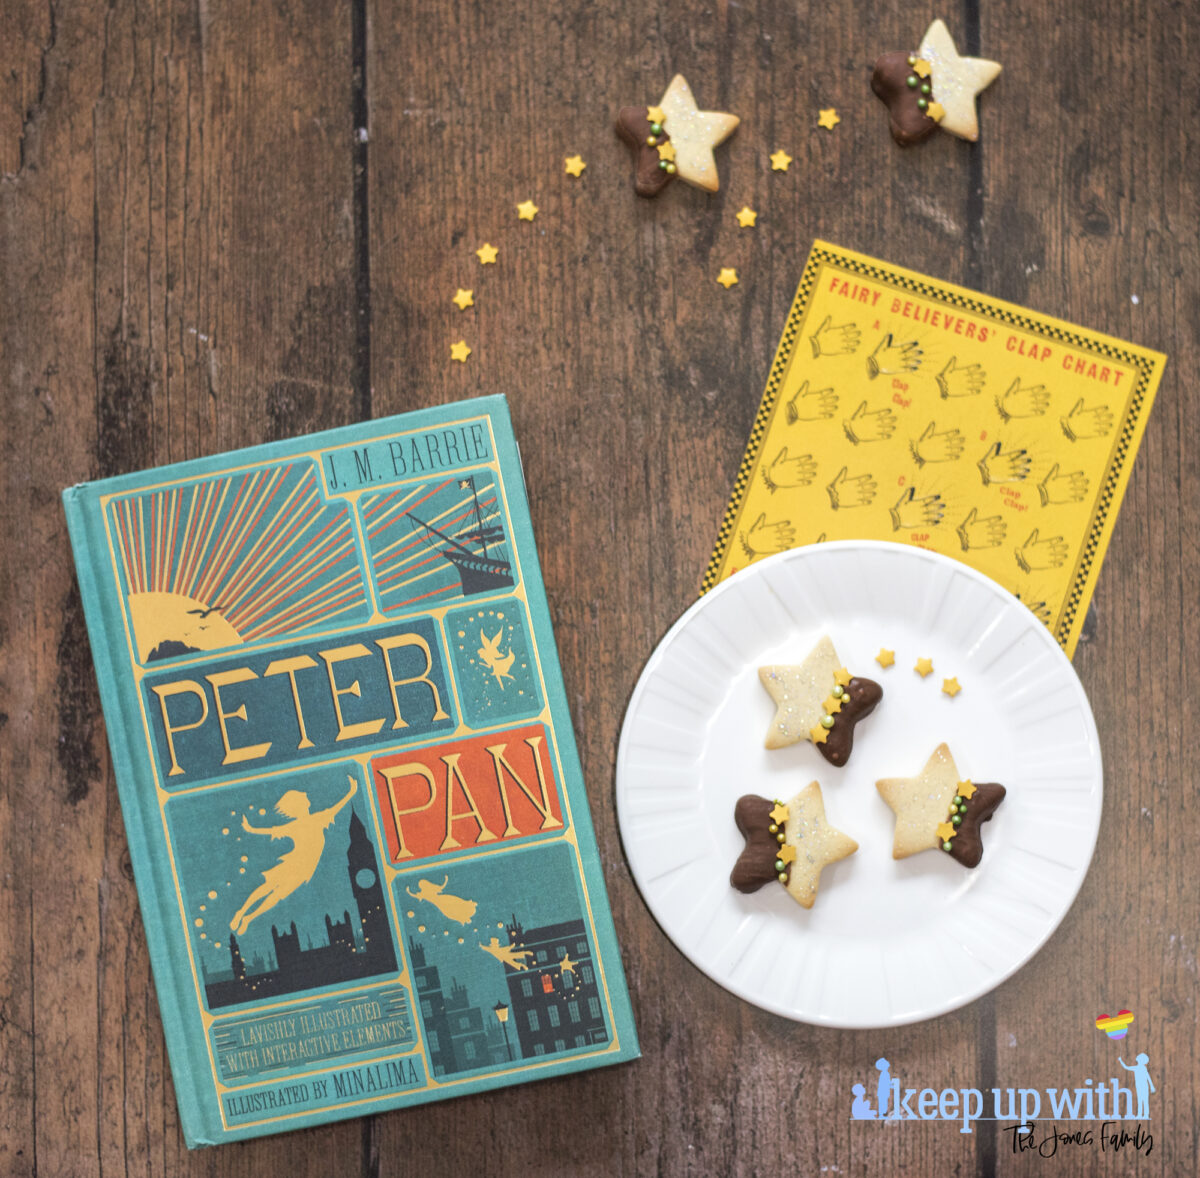
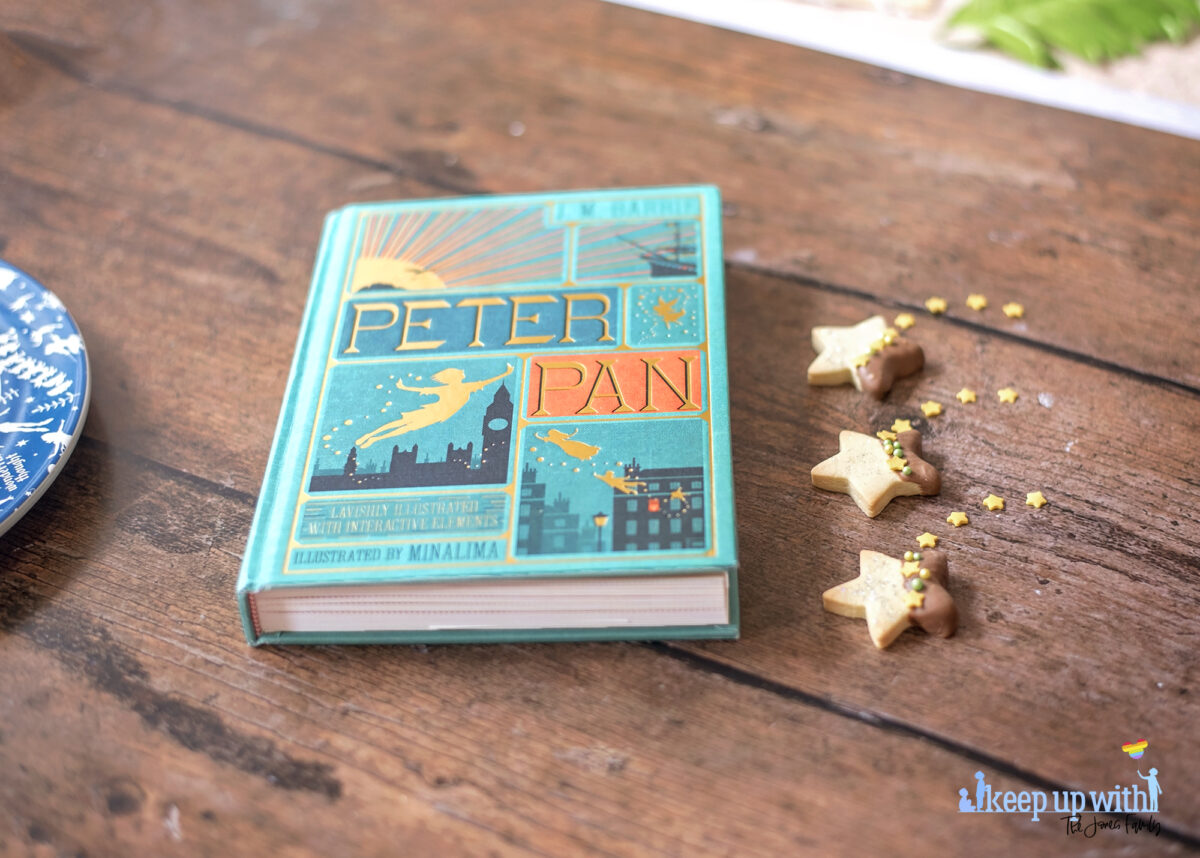
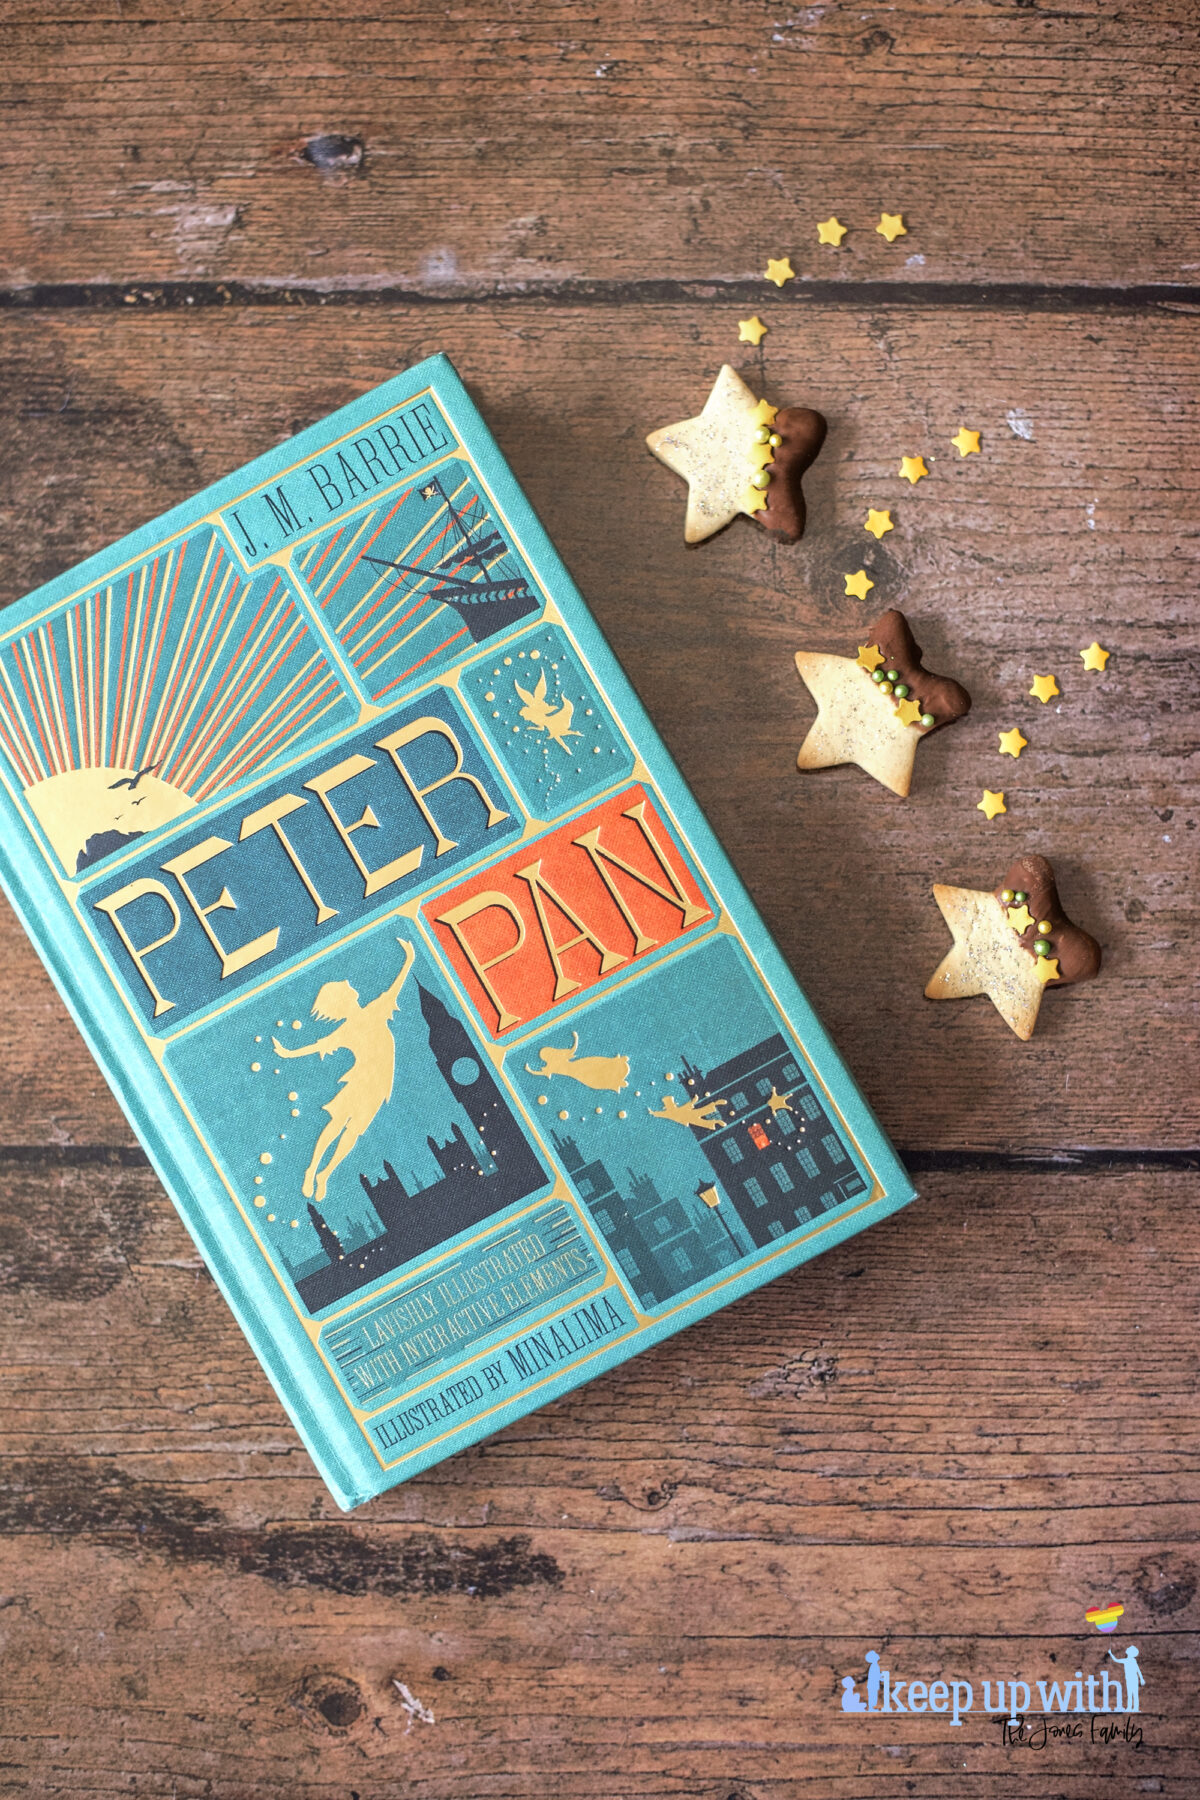
Hey, friends! Our Neverland Birthday Party was one of the most fun times we’ve had – the theme was so simple to get carried away with and I loved every second of planning for it. One of the little party foods that went down so well was our Second Star to the Right Peter Pan Biscuits. They’re adorable and so easy to make.
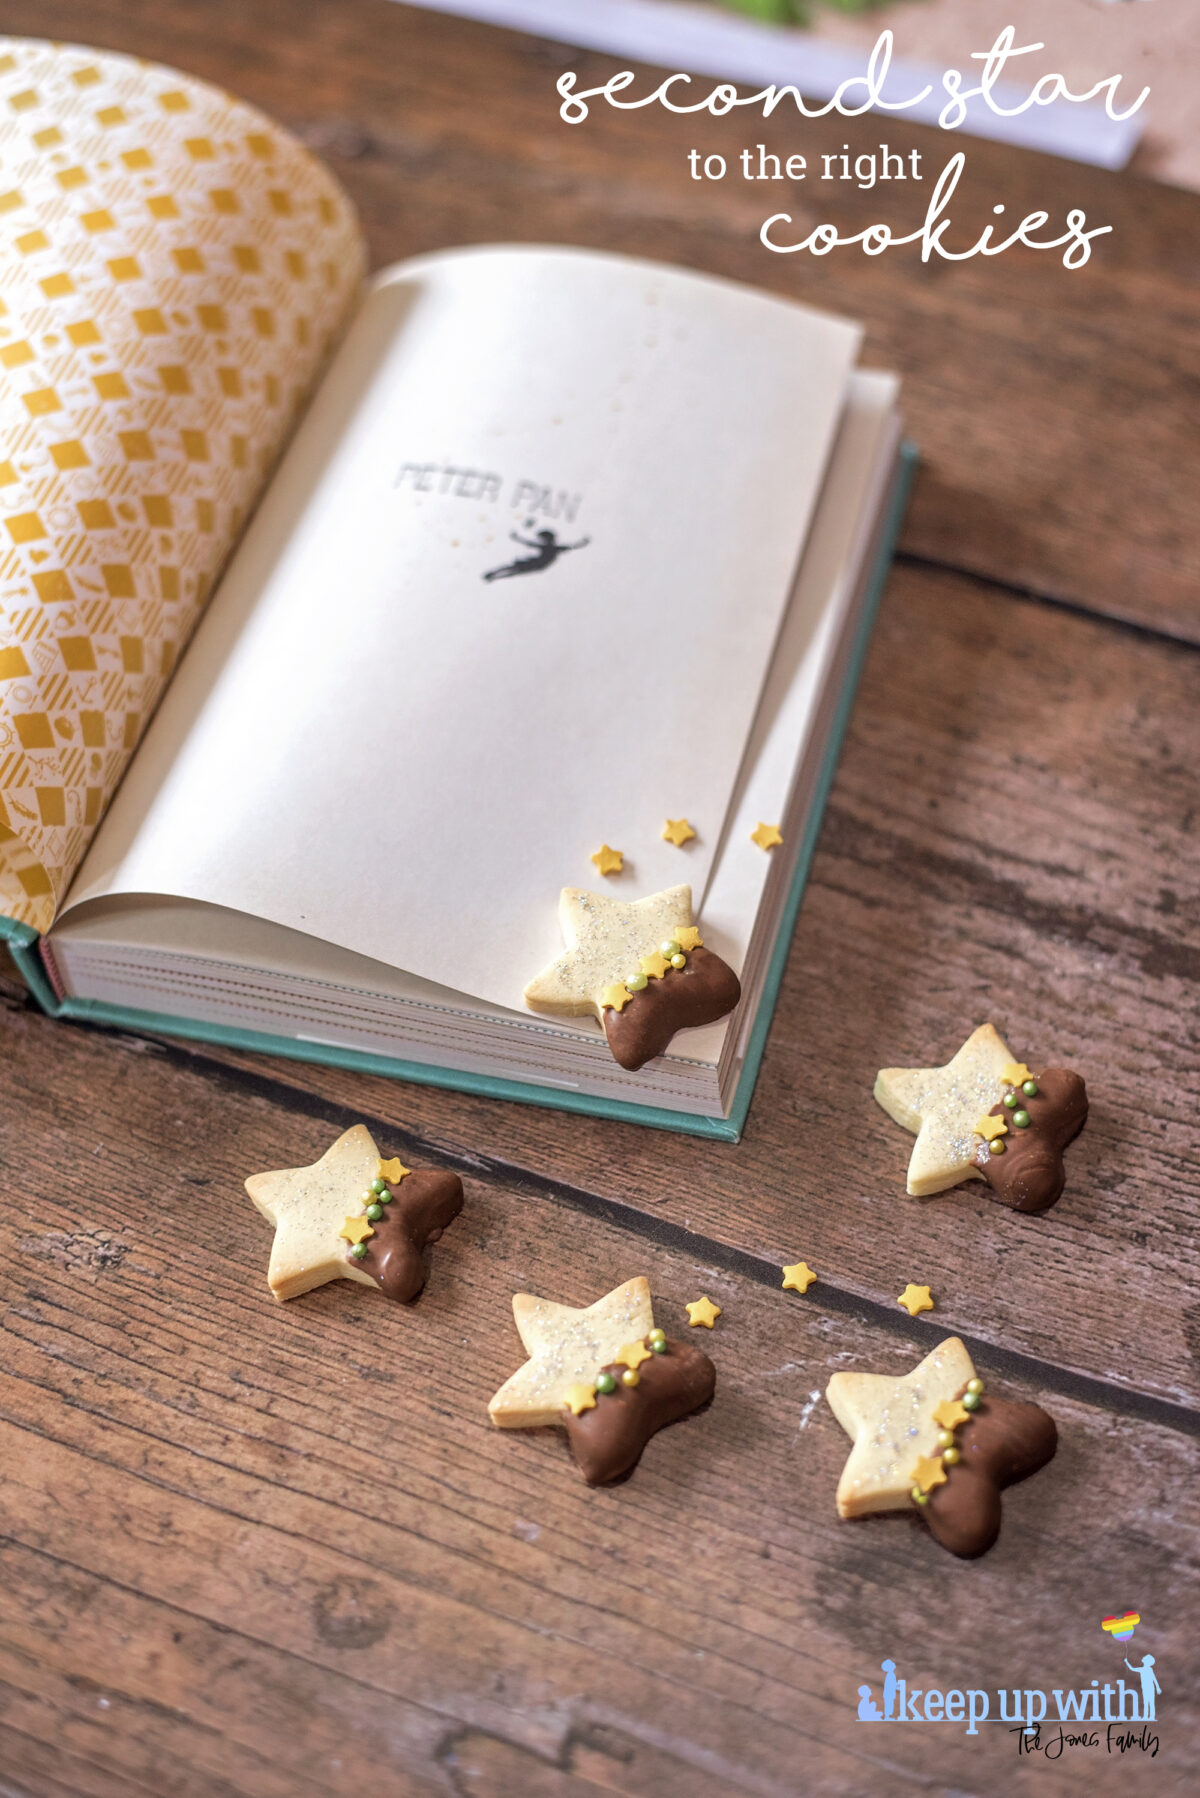
This week we were watching Tinkerbell on Disney+ and decided to make some more of the biscuits to eat as cinema snacks. It’s so hot that we actually ended up dipping them in melted chocolate, which was sooo good.
How to make Peter Pan Biscuits
You need our simple biscuit recipe that we use for our Maui and Moana Heart of TeFiti Biscuits and you’re all set. I’m usually not a biscuit maker because for some reason I had a fear of how they would turn out and that it would be difficult – but it was so easy. Scroll down for the recipe.
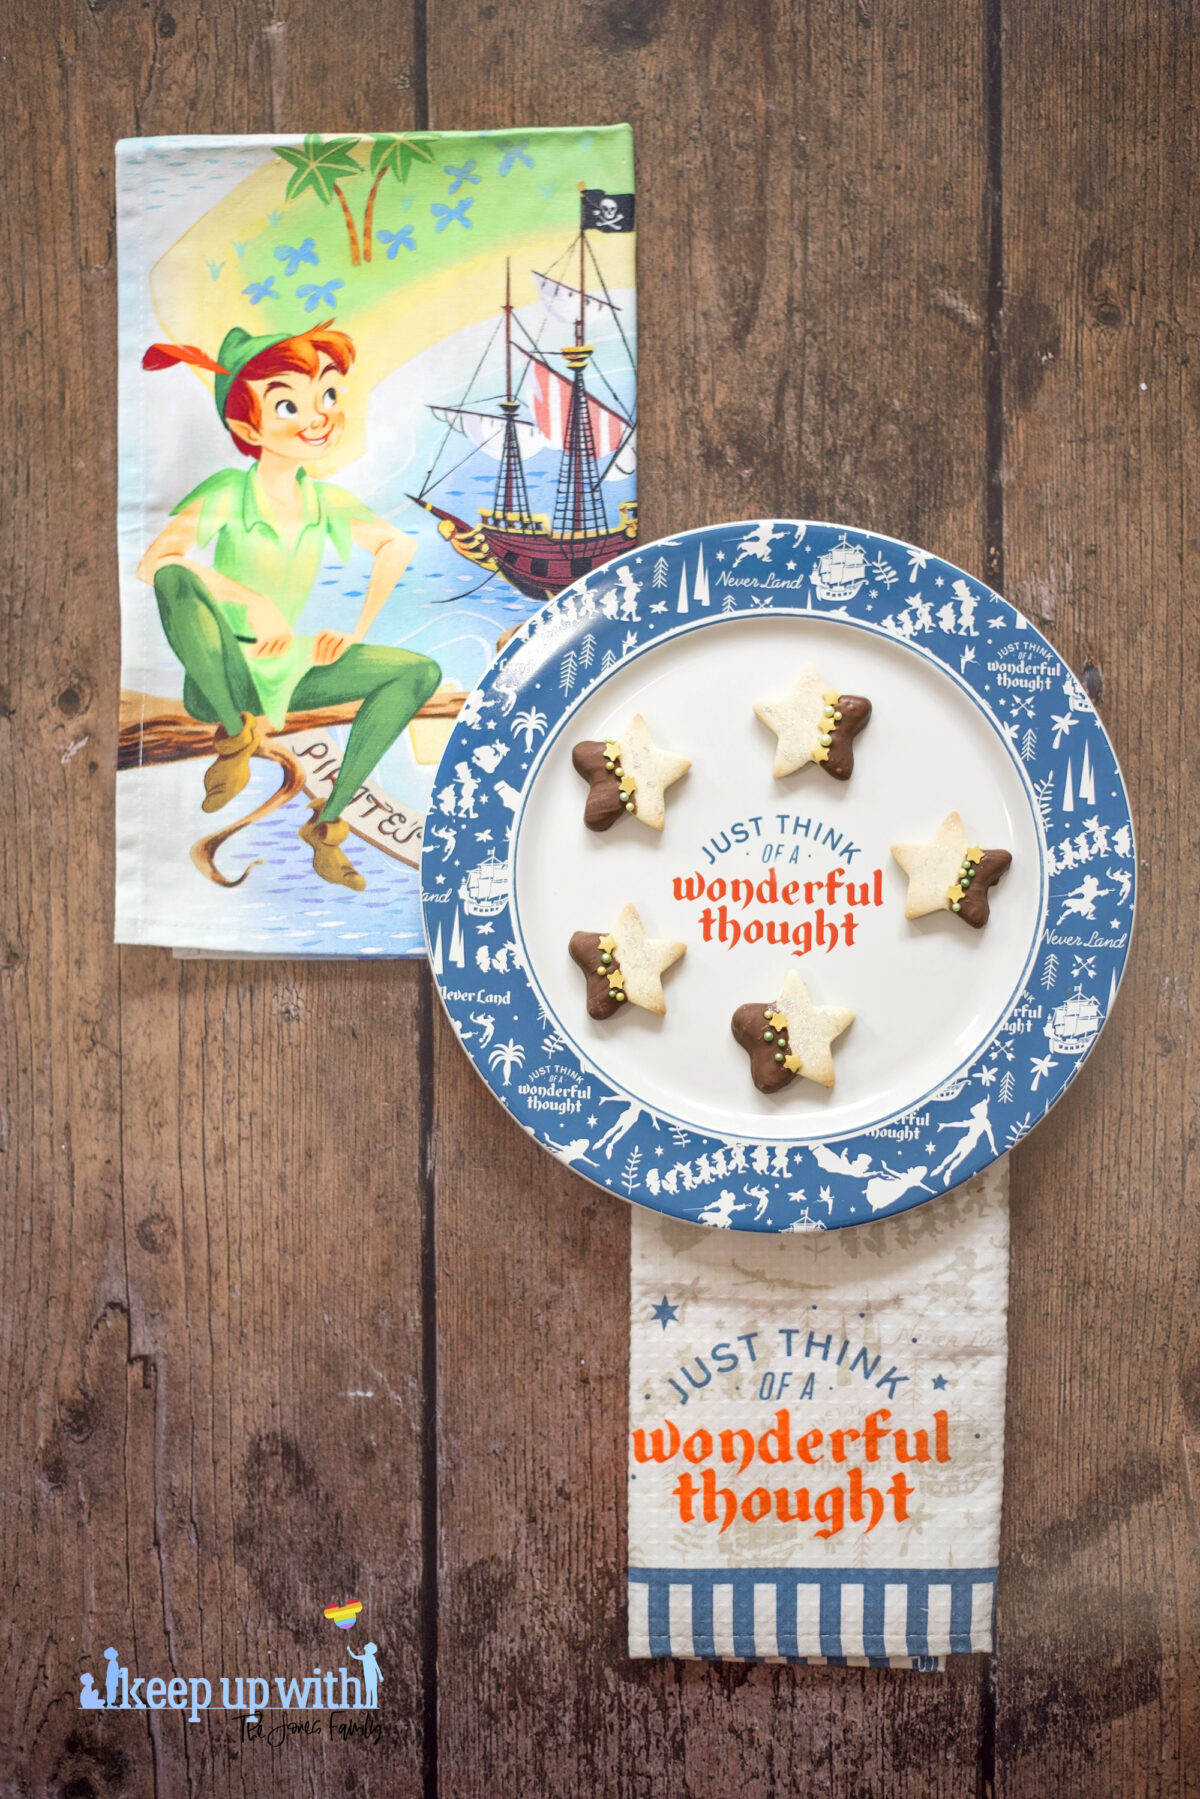
Peter Pan’s Second Star to the Right Cookies
Equipment
- Star Shaped Cookie Cutter
- Bowl
- Metal Spoon
- Rolling Pin
- Baking Tray
- Greaseproof Baking Paper
- Soft Paintbrush
Ingredients
- 100 g Butter
- 100 g Caster Sugar
- 1 Egg
- 370 g Plain Flour
- Holographic, Silver or Gold Edible Glitter
- Yellow and Green Sugar Sprinkles
Instructions
- Leave the butter out to settle to room temperature so it’s softer.
- Cream the butter and sugar together.
- Beat the egg and add gradually as you mix
- Sieve in the flour slowly and mix to a dough. You’ll need to use your hands!
- Chill the biscuit dough for a few hours.
- Remove dough from fridge and roll out to around 5mm thick.
- Cut out star shapes and bake for 12 minutes.
- Keep an eye on them if your oven decides to occasionally become a volcano like mine.
- Leave to cool completely, and break chocolate into pieces and place in a microwaveable bowl.
- Microwave for one minute then remove chocolate from microwave and stir until all of the lumps are melted.
- Dip the star biscuits into the chocolate and place on baking tray.
- Once all biscuits are dipped, place sprinkles on and leave to set.
- When the biscuits are ready, dust them with the edible glitter. If you don’t have a paintbrush, put a little bit in the lid and tap on gently.
- Enjoy!
More Disney Inspired Food:
Summer Mickey Mouse Rice Krispie Treats
Nightmare Before Christmas Movie Treats
Olaf and Sven’s Frozen Chocolate Puddle
