CHRISTMAS WISH BAUBLES
This month’s #BostikBloggers theme is snow. My parents, in the Midlands, have already experienced their first [and definitely not their last] snow of the year but here in leafy Hampshire we are still snowless. Generally if we get any it seems to arrive around January time which is a bit disappointing, especially when I grew up with mostly white Christmases with my family.
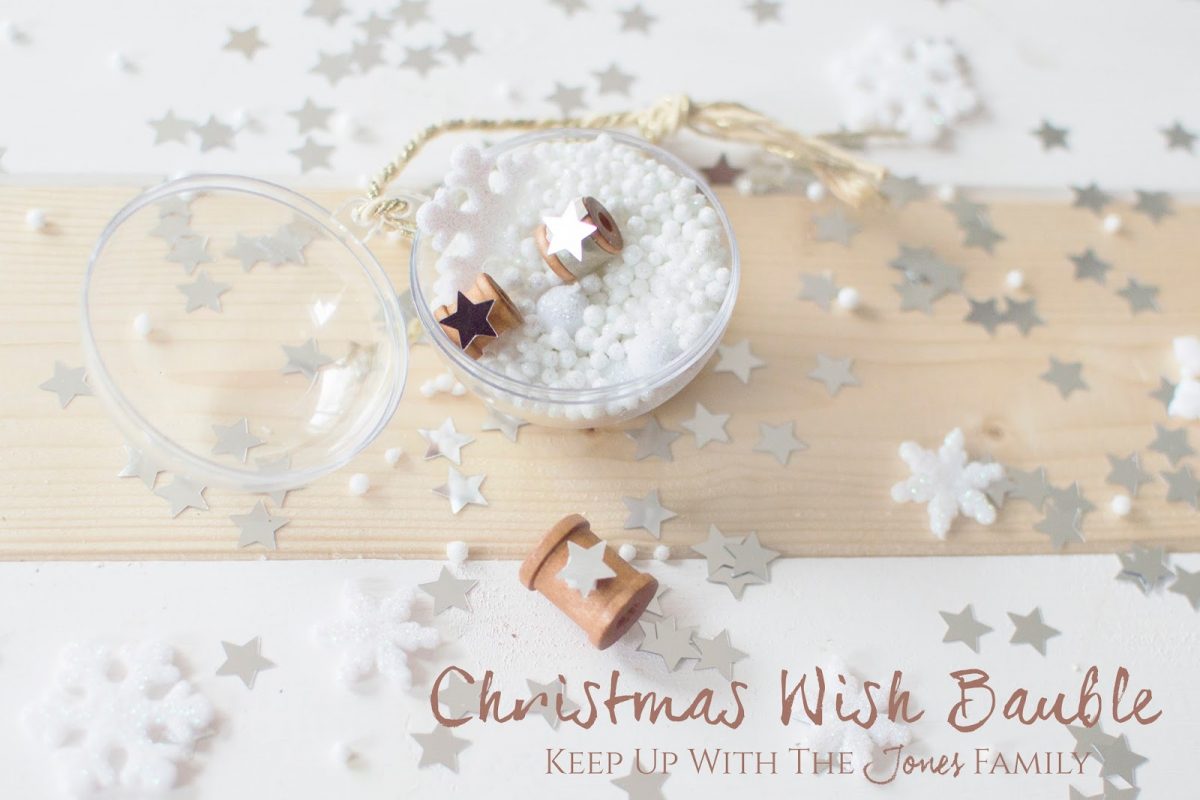
We’ve been busy filming a craft tutorial for Tots100 showing how to make a special kind of advent calendar and we’ve taken a little part of that tutorial and made it into a craft of its own. These are Christmas Wish Baubles, and they can be customised and used for any Christmas memory – gifts received, wishes made, best family moment. It’s up to you.
I decided to make these as every year one of our family traditions is to buy a new bauble each to hang on the tree. The boys have complete free choice in their selection and so far we’ve had quite a few bright and beautiful additions to our collection!
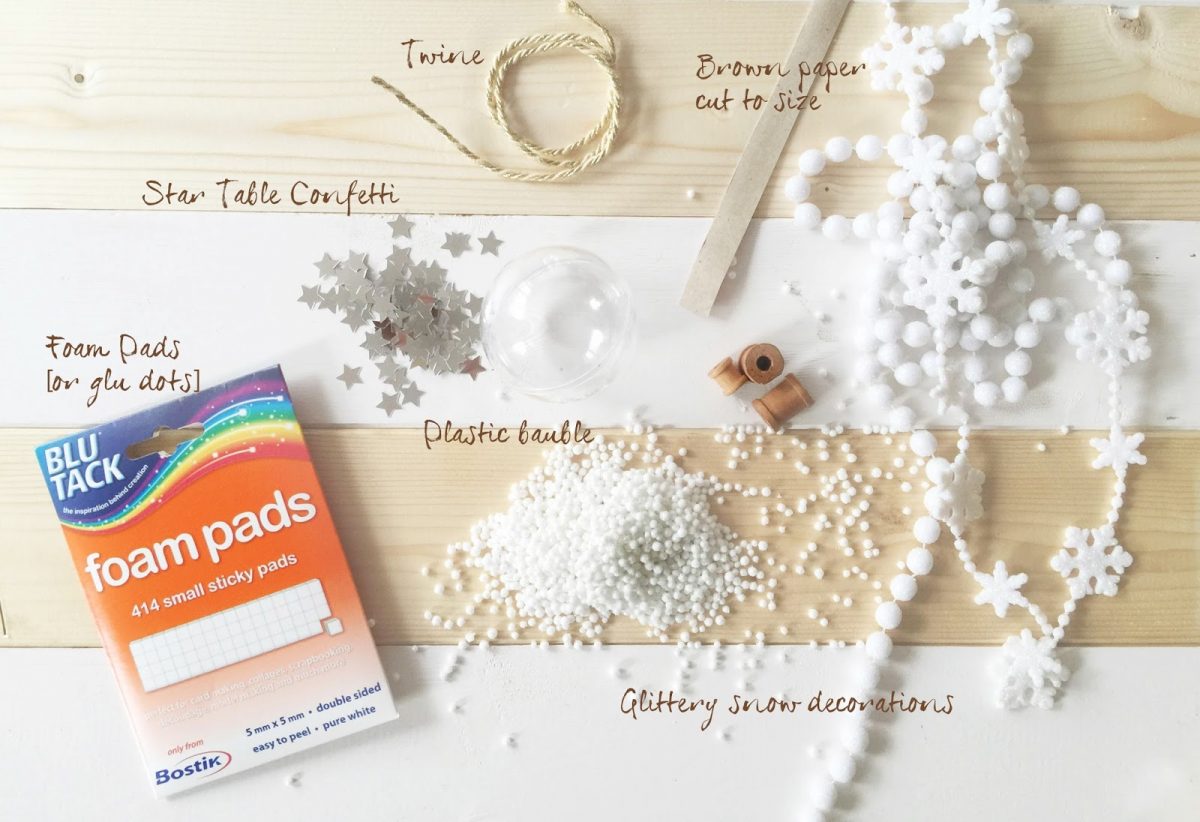
You will need:
Clear Plastic Bauble
White Snow Decorations – any kind you like. I got mine all from The Range and snipped up garlands to make my snowflakes and snowballs
Small cotton spools [with the cotton removed]
Brown paper
Silver star table confetti
Bostik Foam Pads or Sticky Dots
Ribbon or twine
Step One:
Fill half of the bauble with snow and lay it to one side
Step Two:
Prepare the spool by cutting a length of brown paper approximately 10cm in length and wide enough to fit the width of the spool. Wind this around the spool by placing a flu dot to begin the coil, and affix the alternate end with a foam pad. Place a star over the foam pad.
Step Three:
Place completed spool and other decorations inside the second half of the bauble. Carefully join the side of the bauble together.
Step Four:
Thread the bauble with twine or ribbon.
Below is the tutorial with pictures – you can pin it for later! 🙂


![DIY SNOWY ADVENT CALENDAR VILLAGE [WAYFAIR FEATURE]](https://keep-up-with-the-jones-family.com/wp-content/uploads/2015/12/WAYFAIRE.jpg)
