Edible Leprechaun ‘Shamrock’ [cress] Pots
Hey, friends! Sometimes I have all of the ideas and none of the get-up-and go – and sometimes I completely forget what day of the week it is when suddenly, St Patrick’s Day is just around the corner. My boys love every family tradition I can create in their lives and today I’m sharing one that we do each year. You can take minutes over it or days; it’s up to you. We shared our Fun Leprechaun Rice Cakes on Instagram yesterday if you missed those, they were tasty – although I did feel a little bit guilty eating them whilst they were smiling at me. Here’s today’s offering of Last Minute St. Patrick’s Day Crafts!
Simple St. Patrick’s Day craft with supply list
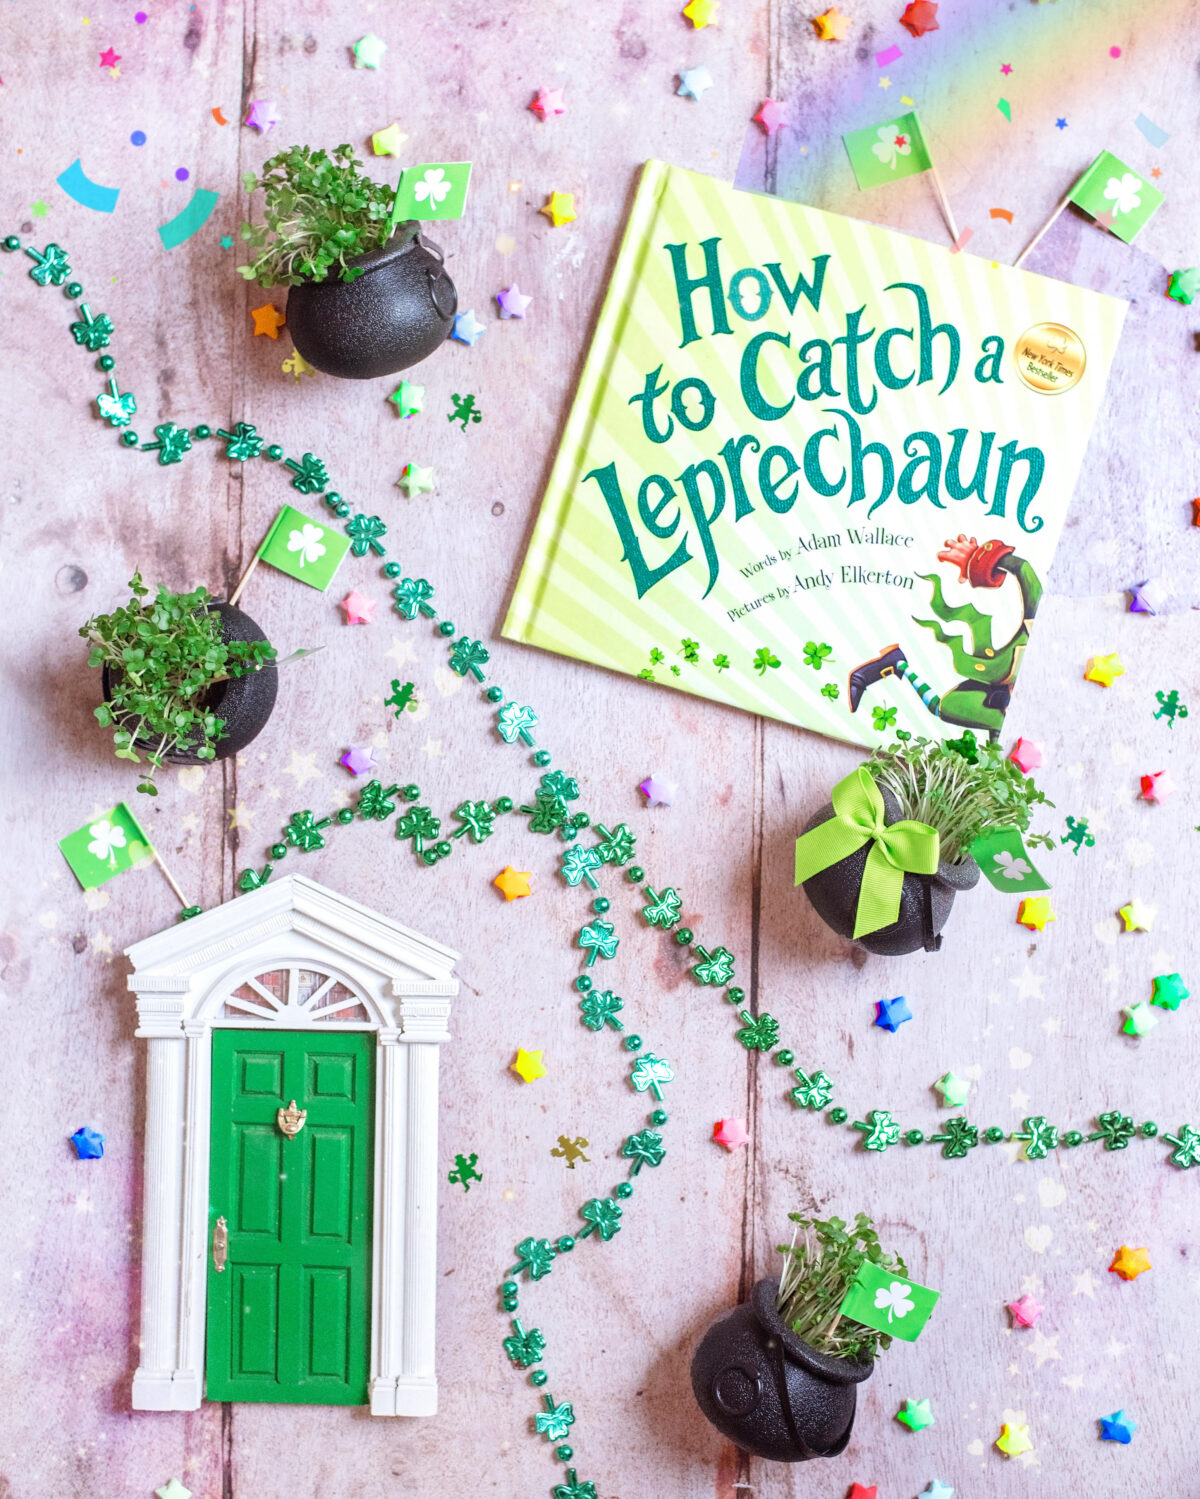
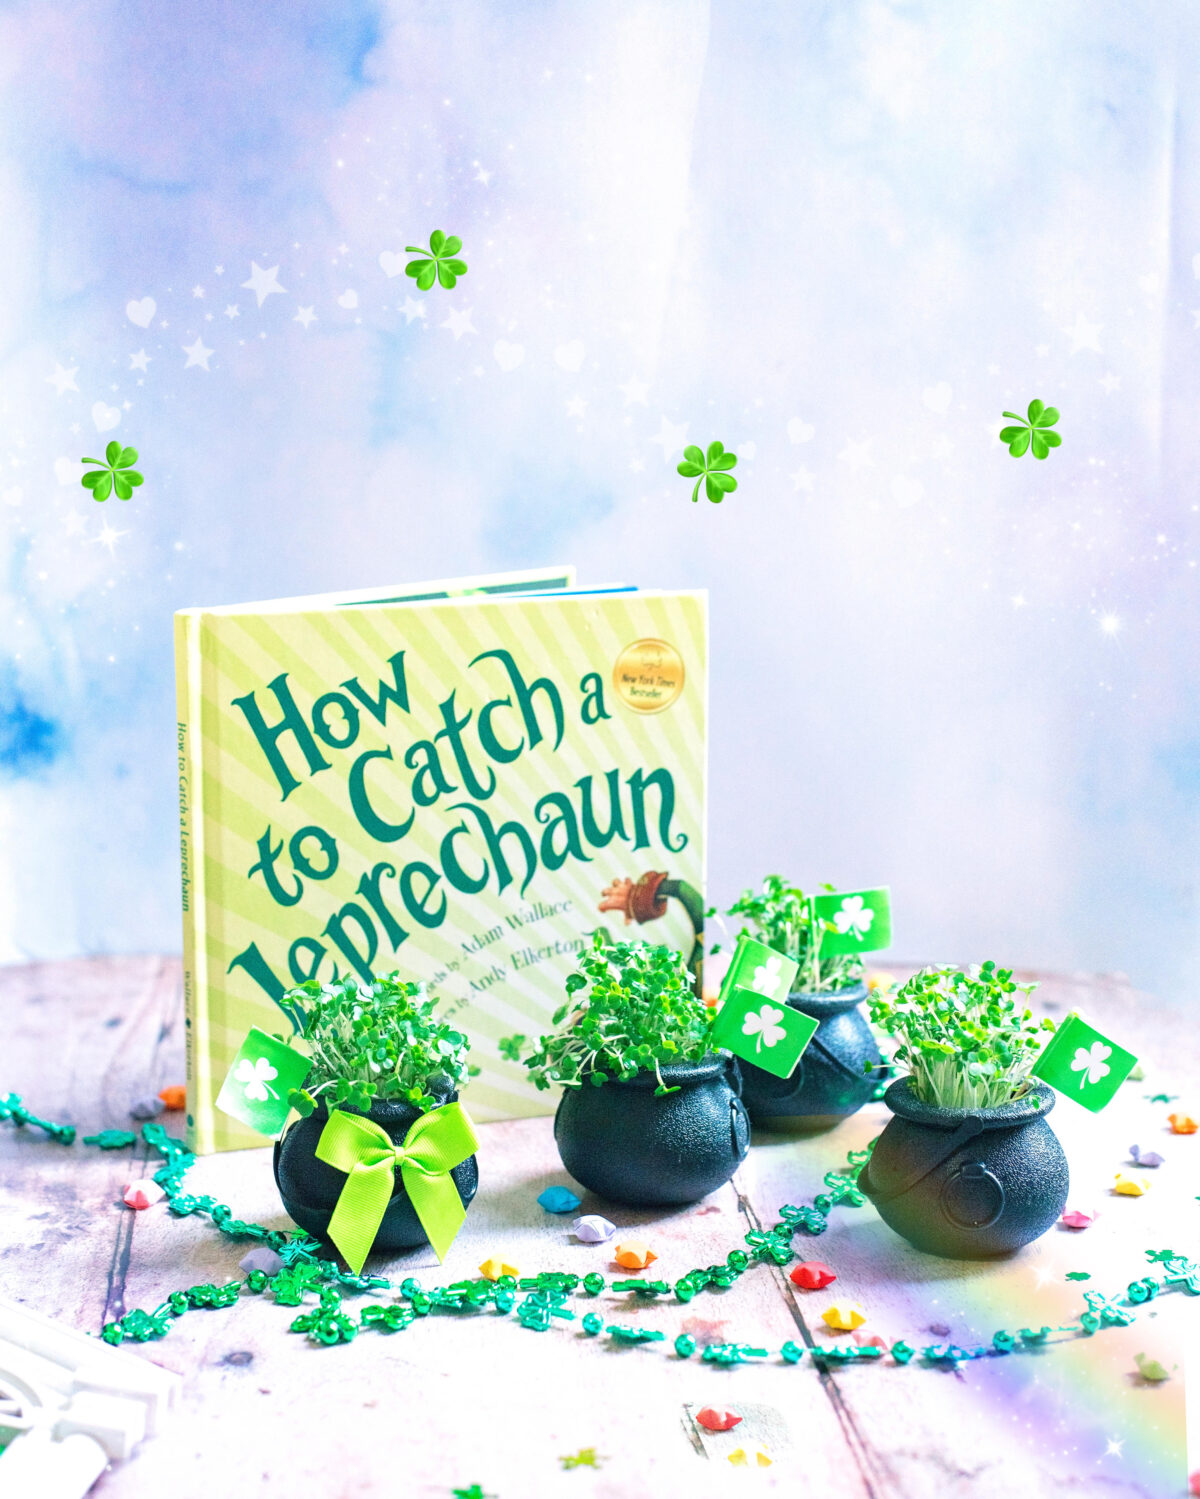
The best and most fun crafts are often the ones that take minutes to make and require very little preparation. All you need for this one are some mini cauldrons – you can use teeny buckets or flowerpots too. We use small black cauldrons because they can be reused at halloween and when we do anything that involves villains or magic too. I call them my investment pieces, haha.
You will need:
- Cress [seeds or ready grown from the salad aisle in the supermarket]
- Containers – mini cauldrons, pots or buckets – the last two there are available in ASDA at the moment in their gardening aisle!
- Cotton Wool or Compost [if growing your own]
- Water
- Decoration Flags
Best St. Patrick’s Day Crafts to make
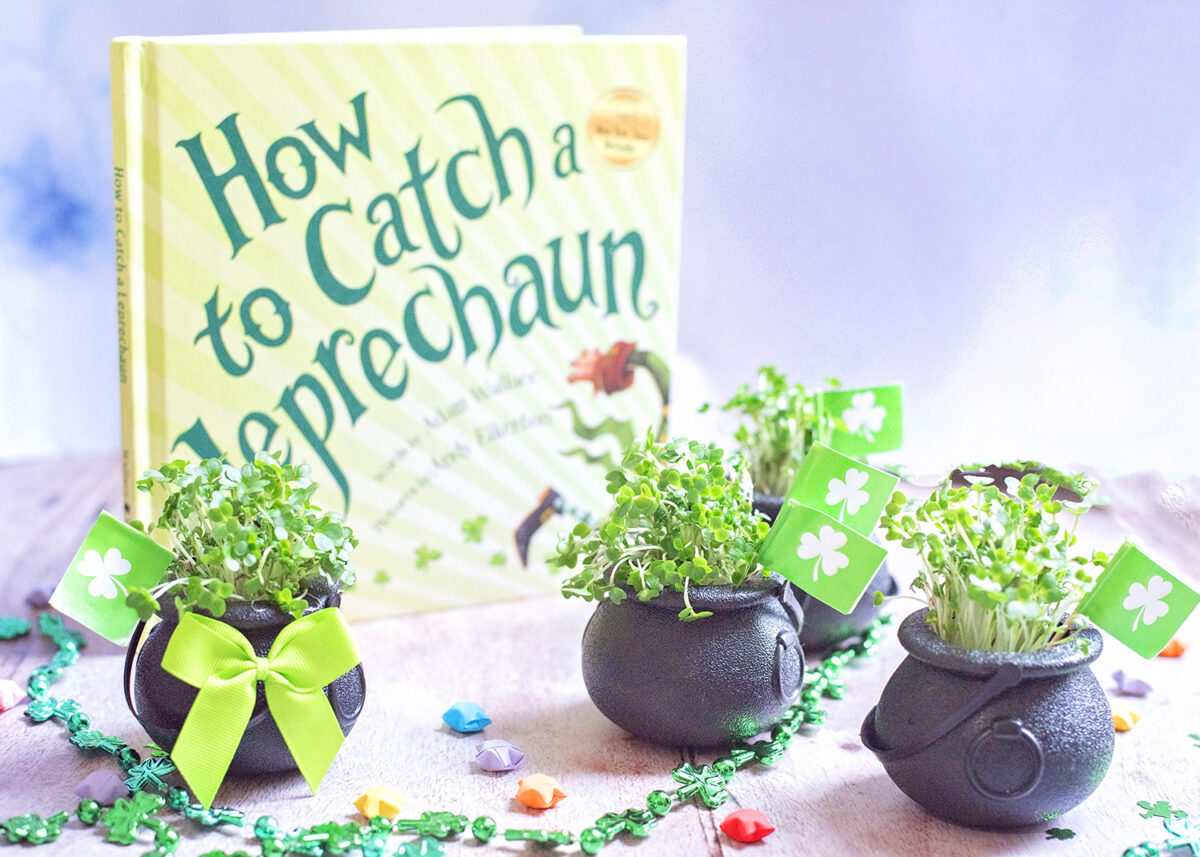
One of the upsides of this craft is that it’s edible – and the bit you can eat is healthy for you too. I know that my boys are more likely to eat something that they made themselves and they’ll try a bit of this with their lunch and I’ll feel virtuous. Pick the cress that your children are most likely to eat – there are three kinds apparently: common, curled or Greek – and you can grow mustard in the same way if you like a hot kick to your leprechaun salad. You could even say your Leprechaun has been playing tricks on you and adding hot Shamrock cress to your cauldrons.
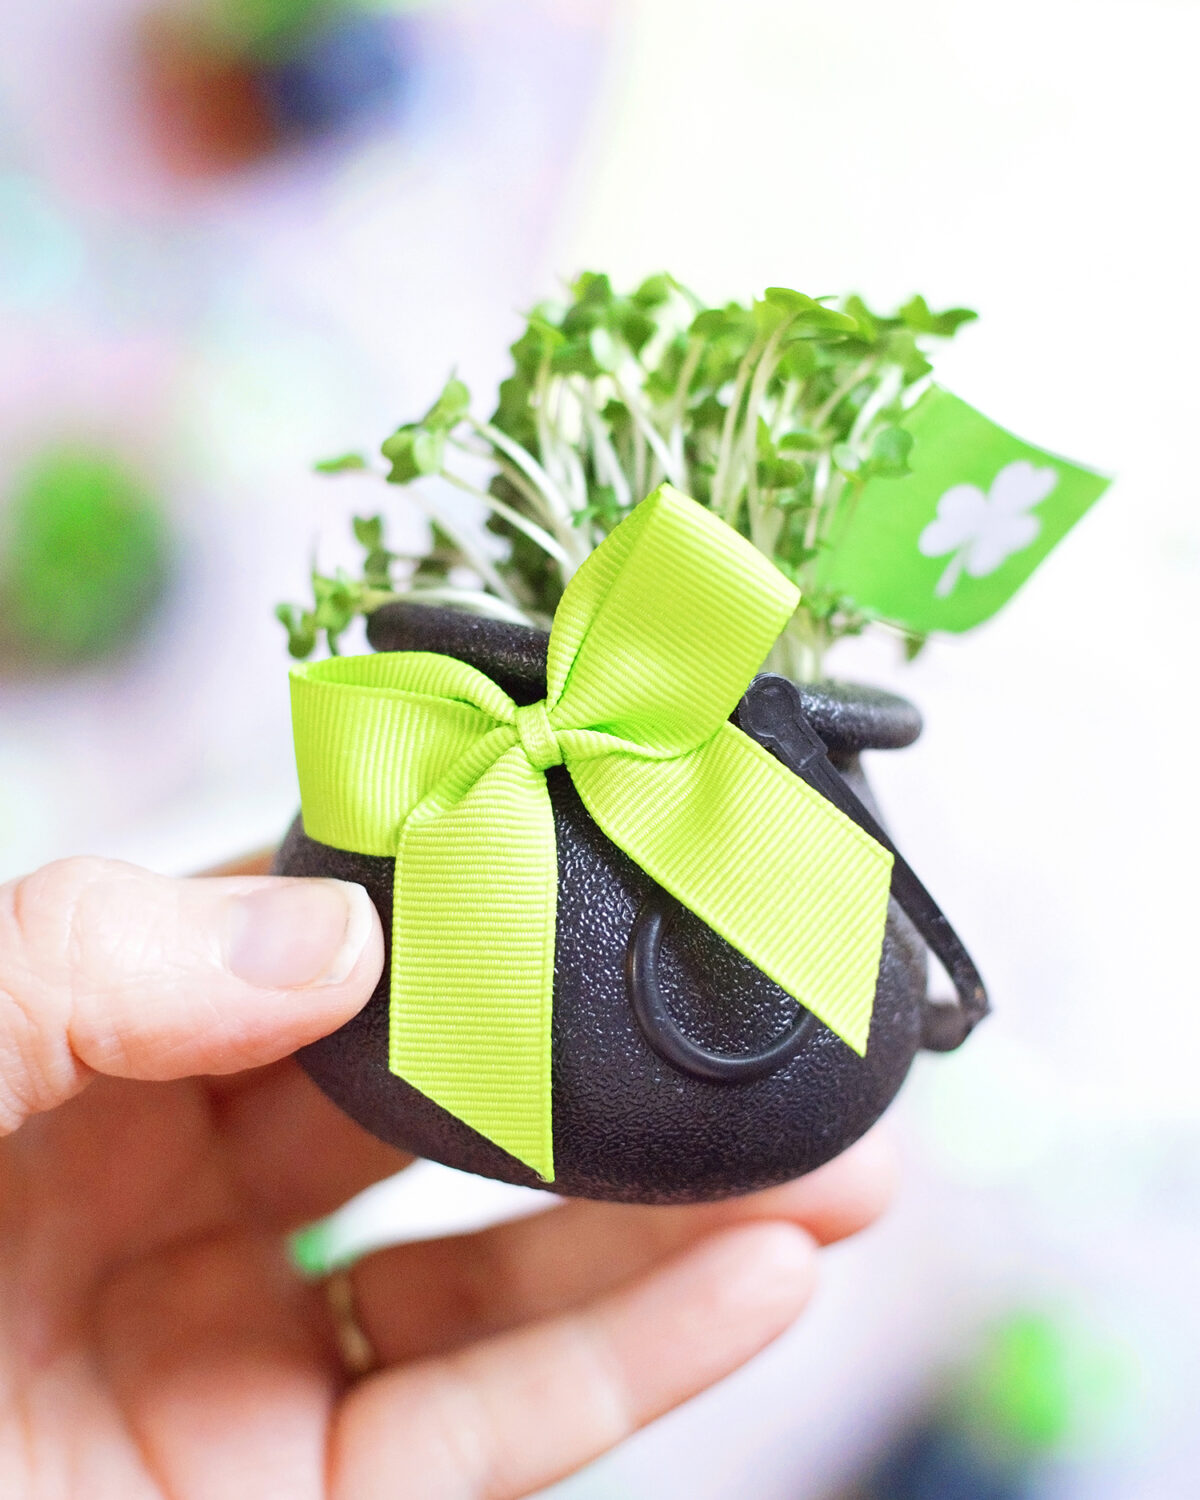
Last minute St. Patrick’s Day Crafts
- The first step is to prepare your containers. Pop some cotton wool in the bottom, or compost if you’re growing your own and want it to grow for longer than a week or so. Cress even grows flowers if you leave it to grow wild!
- Planting or sowing your cress – if you’ve got store bought cress, all you need to do is turn the carton upside down and give a little jolt of your hand for it to come out. Then you can divide it easily amongst your little pots. If you’re growing from seed, wet the cotton wool inside the little containers and spinkle the cress seed on top. be careful not to drown it by overwatering though! Pat the seeds onto the cotton wool to make sure they don’t roll off.
- If you’re using store bought, your pots just need a little decoration and they’re ready! If you’re sowing your seeds, they should start to germinate and sprout after about 24 hours. They’re quick! You’ll have good looking cress in around 5-7 days.
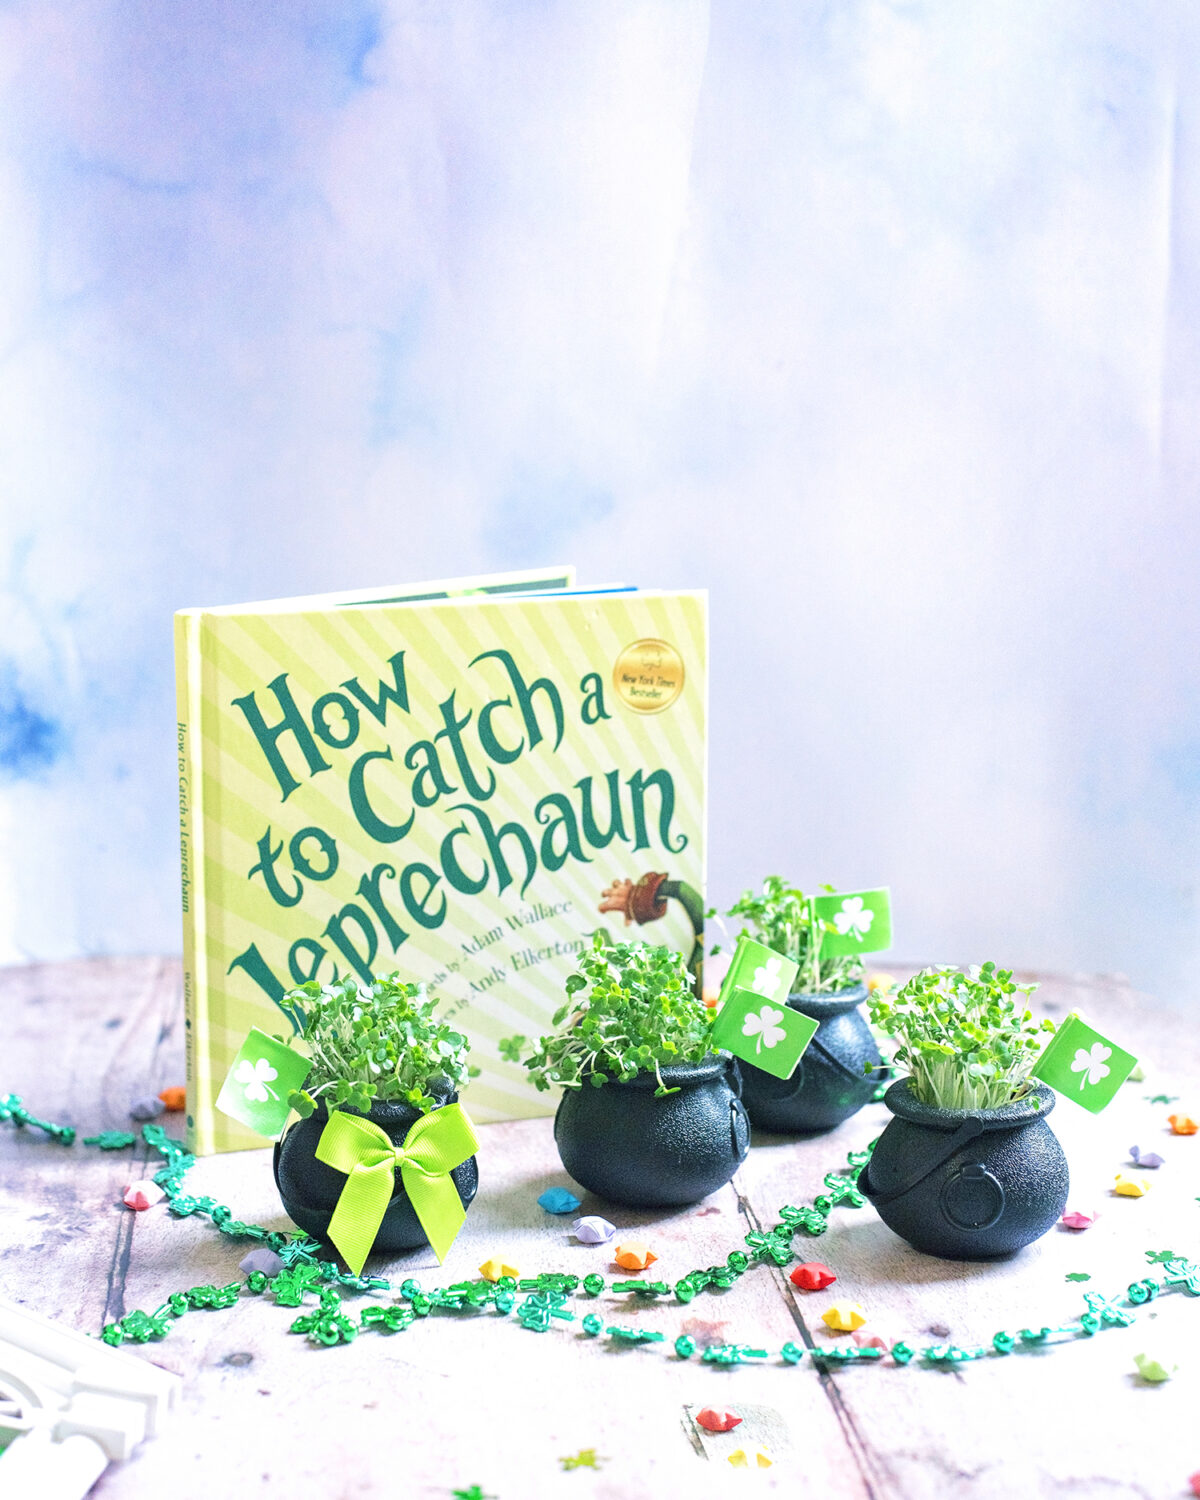
Good luck with your pots! I’d love to see them! If you’re after more St. Patrick’s day inspiration, don’t forget to check out some of our other posts!
More Ideas for Celebrating St. Patrick’s Day…
St. Patrick’s Day Celebrations Made Simple
St. Patrick’s Day Rainbow Pancake Party
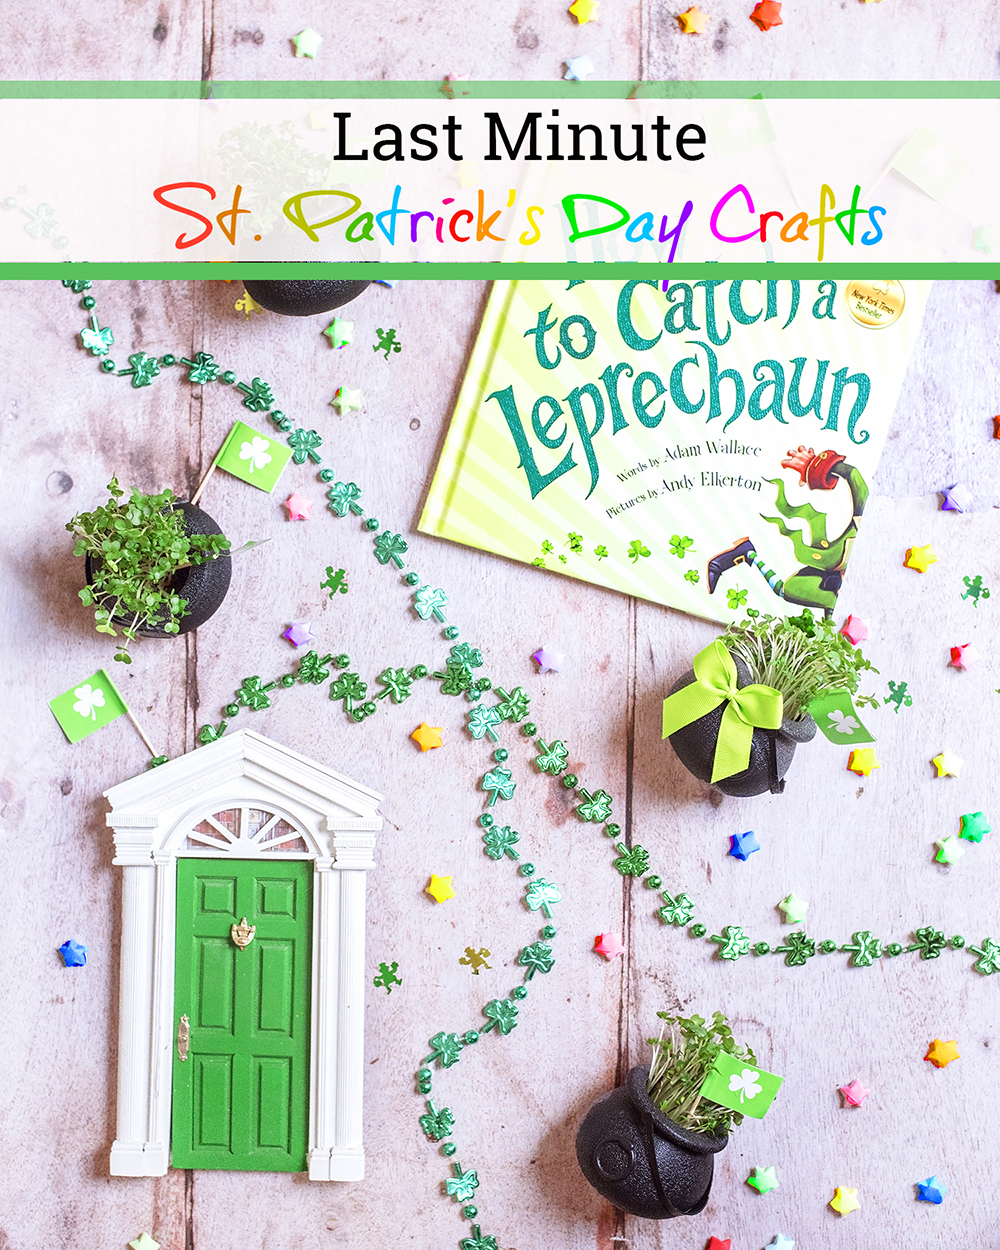
Pin me for later!



![THE PUMPKIN PATCH [PART FOUR]](https://keep-up-with-the-jones-family.com/wp-content/uploads/2018/02/PP017-1.jpg)
