HALLOWE’EN DOOR HANGER CRAFT [BOSTIK BLOGGERS]
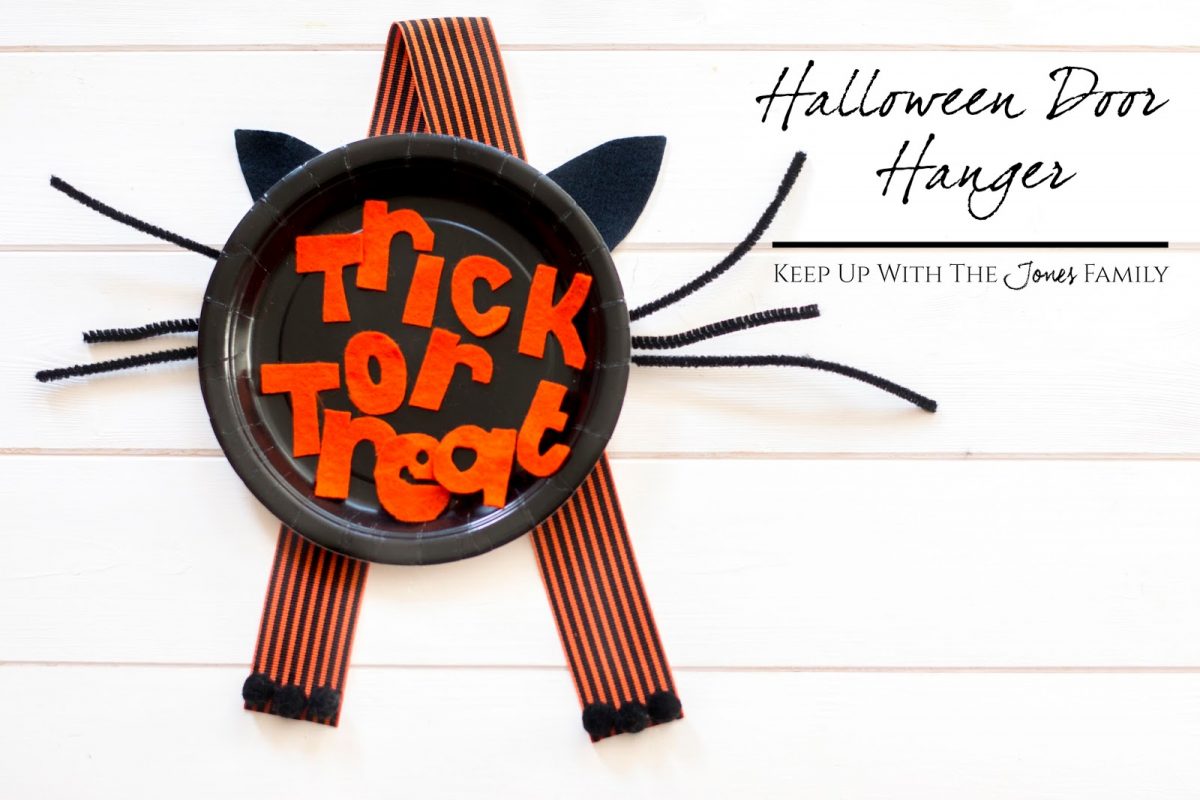
Now the Autumn nights are making playing outside until bedtime a less appealing option, we’ve been crafting more indoors. This month with Bostik Bloggers, we had a Hallowe’en theme. We decided to make a little Trick or Treat sign to show our neighbours that we welcome Hallowe’en guests and have sweeties to hand out!
This was the simplest craft to make for little fingers – there are three steps. Gather equipment, snip felt pieces, stick everything together.
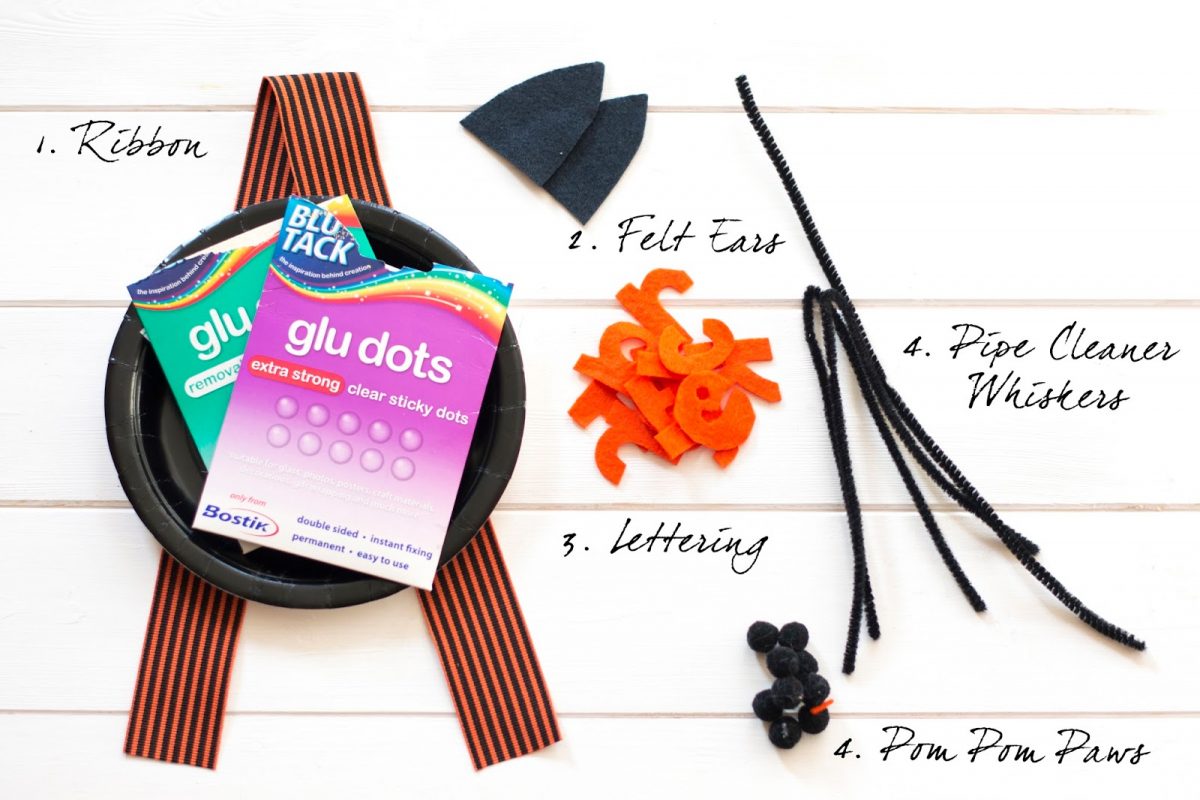
You will need:
Scissors [I used dressmaking ones as they are easier to cut with]
Small paper plate
3 pipe cleaners
6 mini pom poms
black felt
orange felt
20″ ribbon
I snip my letters freehand but you can use a stencil or draw them beforehand.
Stick your pieces on in any order, but this is the order I chose:
Your final project is already dry thanks to the Glu-Dots, and ready to hang outside! Happy Hallowe’en!




Very cute! And an easy way to add a little extra Halloween decor to your home!
That is so cute! I've never heard of glue dots!!!!! How cool!!!!
So cute and easy enough for a child to do! This is great – thanks for sharing
You're so cute and crafty! I love the DIY decor for Halloween!
These look really simple to make and fun too for halloween 🙂
That's so cute! It's a great idea to use glue dots instead of messy white glue!
I LOVE this! It is so simple but so adorable!
This is such a cute project.. I want to try this too!!!
I love how easy this is! Great idea for kids of all ages to do 🙂
What a cute idea to welcome people to your door! Thanks for the tutorial
That's really cute!!! I love fun crafts like this! <3
This is so darling! I will have to make one with my daughter!
You are do creative. My girls will have a fun time doing this project.
I love unusual this Halloween decoration is it makes a change from store brought manufactured products.
Love it – then again, I'm a sucker for all things black cat and Halloween.
What a cute door hanger! I love making crafts with my son and we may need to make this!